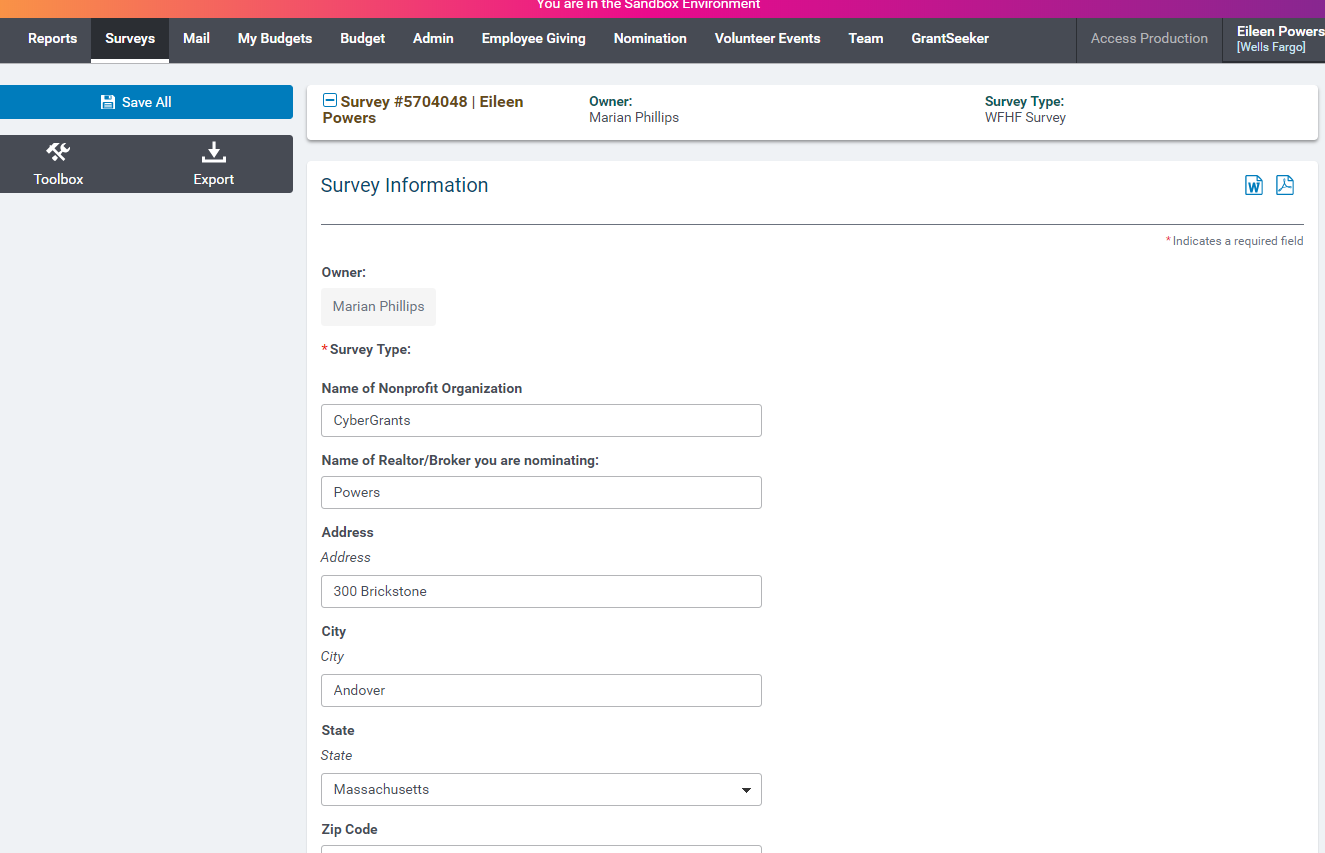
How to Use a Survey
Surveys can be used to for organizations to receive feedback about their application process. What is unique about surveys, rather than impact reports, is that you do not need to login to fill out a Survey.
There are a variety of customers that use surveys for purposes other than receiving feedback. Examples are:
- Support ticket Survey
- Payee Clean-up Request
- Void/Reissue Request
- Volunteer Opportunity Suggestions
- Event Follow-up Survey
Configuring a Survey
Step 1: Configure question/information for Survey
- Application Configuration -> Data Fields -> Surveys
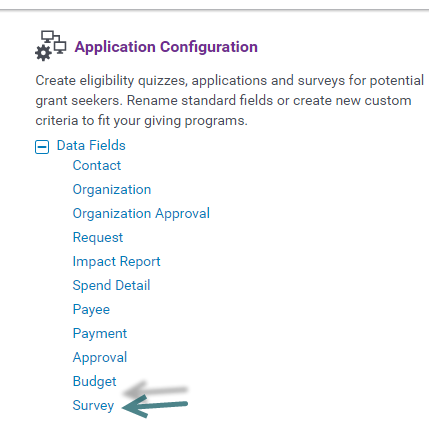
- Upon selection of step 1, the standard survey fields will be displayed.
- To deactivate a field, uncheck the Active box
- To edit a field, select the Edit button
- To create a new field, scroll to the bottom of the page and select New Field.
- Enter the Field Name
- Check the box to make Active
- Check the box to make Internal Use Only
- Check the box to make Required Internally
- Check the box to make Required Externally
- Check the box to make Span Row Externally
- Enter the Field Description of your new field
- Enter the Field Tooltip
- Select the Field Type
- Select Limit Visibility to the selected Internal User Role(s)
- Select Limit Editability to the selected Internal User Role(s):
- Select Save
Survey Elements
|
Field Name
|
Description
|
|
Survey Type Name
|
Name of survey
|
|
Language
|
Drop down consisting of language for survey
|
|
Active
|
Checkbox determining if survey is active
|
|
Redirect/Vanity URL
|
An additional URL that can be used to access the survey
|
|
Survey Type Description
|
Description field for the survey
|
|
Start Date
|
Date field on when survey availability will start
|
|
End Date
|
Date field on when survey availability will end (can leave ongoing)
|
|
Text to display before Survey Start Date
|
Text field to display before the survey is available
|
|
Text to display after Survey End Date:
|
Text field to display after the survey has ended
|
|
Website Template
|
Drop down consisting of templates configured in external styles
|
|
Application Layout
|
Drop down of applicable layouts (always select one question per row)
|
|
Support Link Text
|
Text field for text for support
|
|
Survey Type Introduction Text
|
Text field to introduce the survey
|
|
Survey Type Submission Screen Instructions
|
Text field to be displayed after survey has been submitted
|
|
Available Survey Questions
|
Available survey questions that can be used
|
Step 2: Create Survey Types
- Go to Application Configuration -> Survey Types
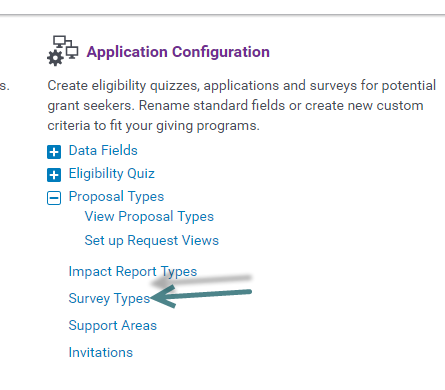
- Select New (see above Field Definitions)
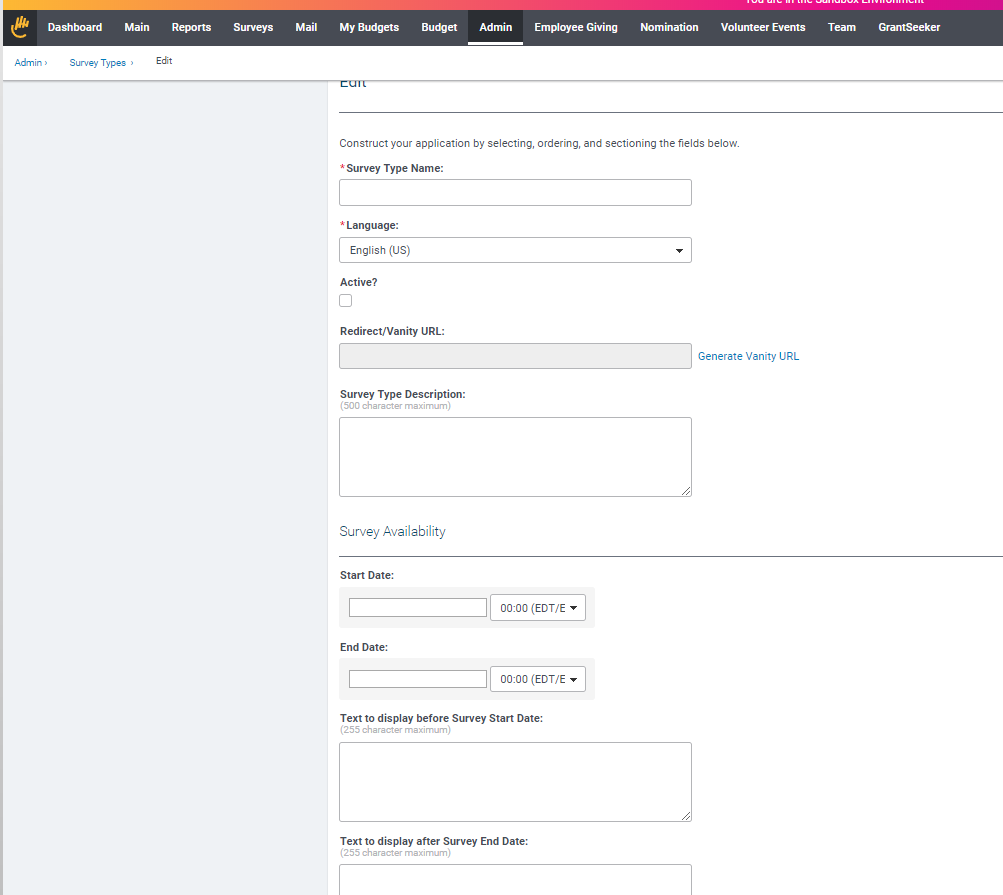
- Enter Survey Type Name
- Select Language
- Check the box for Active
- Enter a Redirect/Vanity URL
- Enter a Survey Type Description
- Enter a Start Date for the survey
- Enter an End Date for the survey
- Enter the Text to display before Survey Start Date
- Enter the Text to display before Survey End Date
- Select Website Template
- Select Application Layout
- Enter Support Link Text
- Enter Survey Type Introduction Text
- Enter Survey Type Submission Screen Instructions
- Select your Available Survey Questions
- Select the questions you would like moved
- Select the Add button to move them to the Select Questions section
- Select Save
Step 3: Create Conditional Fields by selecting Advanced.
- Select Create
- Select the field you want to create the conditional statement for
- Select Add Condition
- Configure your condition
- Select Save
Step 4: Find your Survey within the Survey Tab
- All surveys submitted are stored within the Surveys Tab.
- Select your search criteria to navigate to your survey
- Select the Site Visitor Name to see the detail of that survey.