Product Set-Up
Contact your client management team to turn on the Product Module
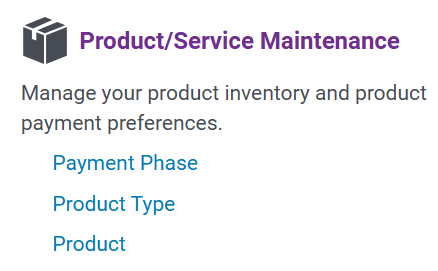
Product Set-up – Payment Phase
Payment Phase - Optional section used to track product information if it changes through the process of delivering the product to correspond with the Grantseeker in an effort to change or substitute products that were available at the time application was completed that are not always available at fulfillment. If Grantmaker’s products are always available then the payment phase does not need to be populated.
Example:
- Phase 1 – Ordering
- Phase 2 - Invoicing
- Phase 3 - Shipping
Product Set-up – Product Type
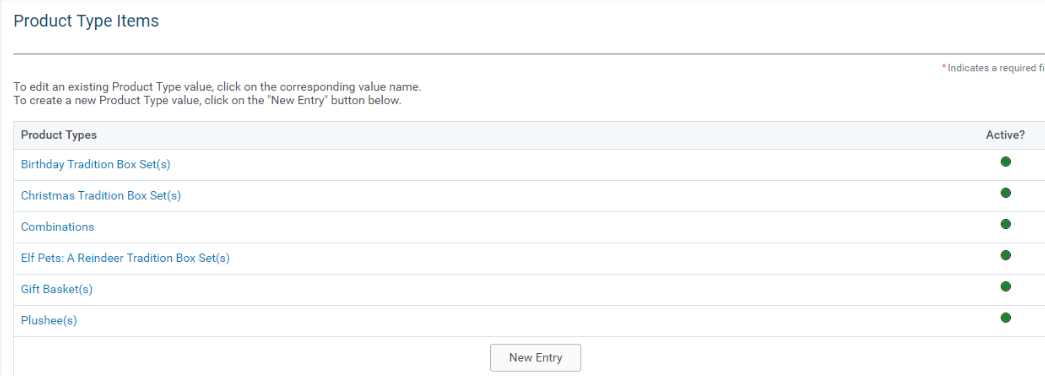
Product Types (can be hierarchical)
- Name
- Reference Code
- Active Flag
Set-up - Products
Create Products
- *Name
- Active flag (to make it active and searchable in system)
- Internal Use only flag
- *Item Number
- Description
- Image URL
- Product URL
- *Cost Price (the wholesale price of the item)
- *List Price (the retail price of the item)
* Required by default
Set-up – To Feed or not to Feed
Ways to Create Products
- Automated feed – Updates/Creates/deactivate all your product information. Works like a donor feed.
- Manually Entry– NOTE that “Cost price” and List price” can’t be updated in the system – must be done by Client Manager or by feed.
- Custom upload Process – On demand upload function that creates multiple products at one time.
Product Set-up – Search and Edit
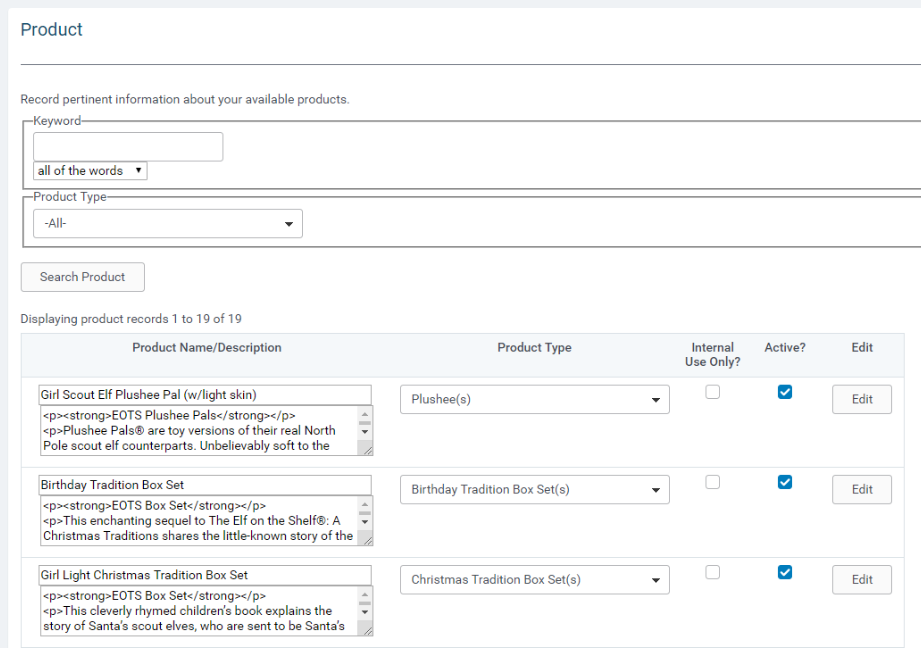
Create a New Product
- To create a new product, click the “New Product” button on the bottom of the Product Screen.
In addition to the column headings, some commonly used fields are:
- Cost Price – Price the item costs the company to produce
- List Price – Retail price of the item
- Product URL to display an image of the product
- Replacement Item Number – to be used if the product is no longer available
- Quantity Limit – Maximum number any GrantSeeker may submit in a single order
- To add a field that is not currently in the Product Information screen, in Sandbox go to the “Data
Fields” part and then click the “Product” link in the Application Configuration section of the Admin Tab.
Product – Proposal Type Matrix
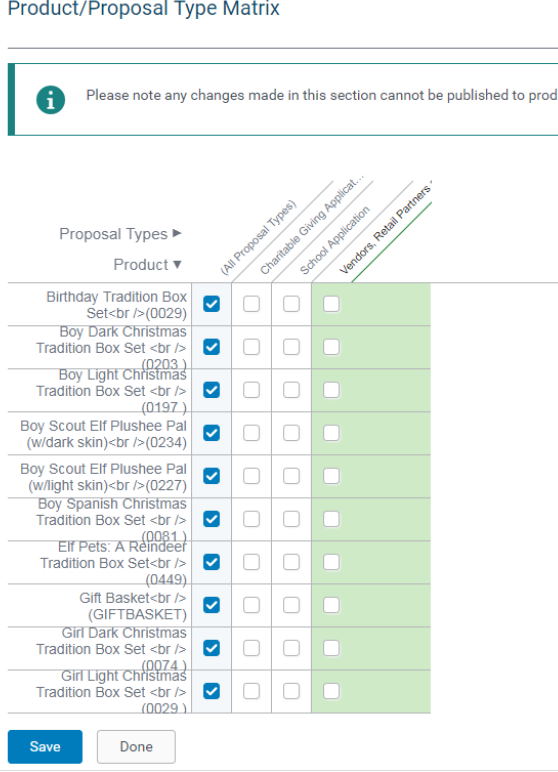
- Proposal displays a table with the proposal types in columns and products in rows. At the intersection of every column and row is a checkbox. A checkmark indicates the product is valid for the proposal type.
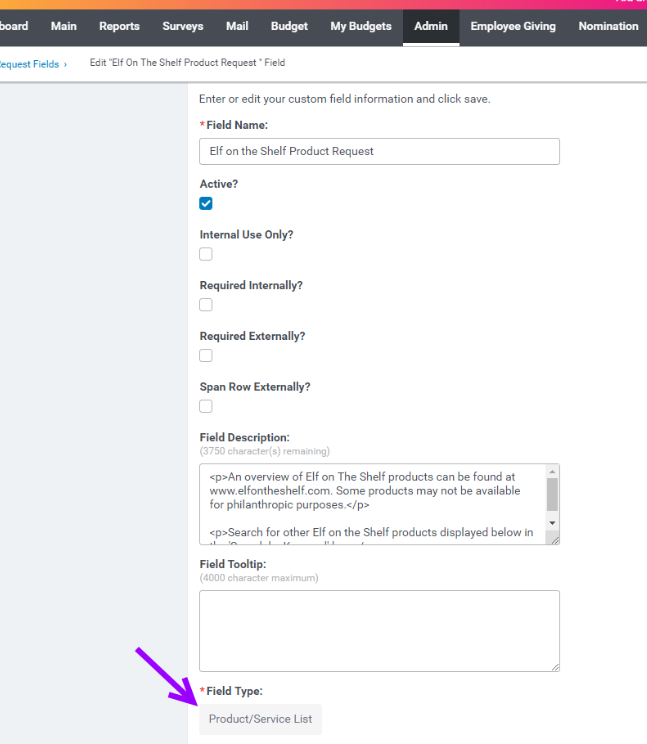
Request Data Field
Product Selection Field is a REQUEST data field that must be added to the proposal type:
Section 2 – How to add a product to a request and schedule payment
- Order display within the product section and the payment section
- Apply budget and requested ship date
- Add a product to a request internally
- Add a new product to an existing order (payment shopping cart)
- Split order into multiple ship-to’s (create new payee, move partial shipment, etc)
Product Selection - External
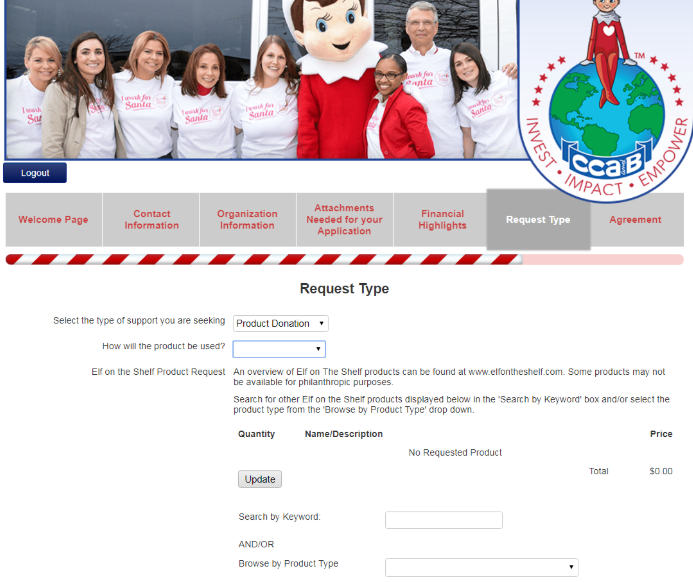
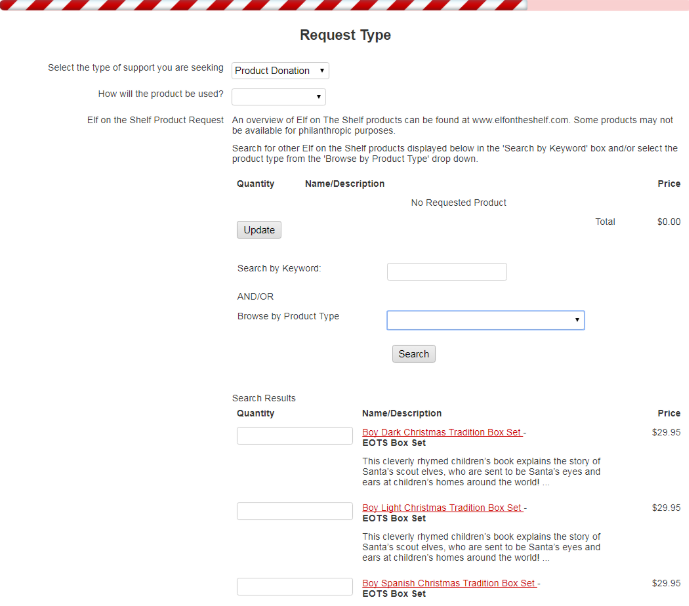
Product Selection - Internal
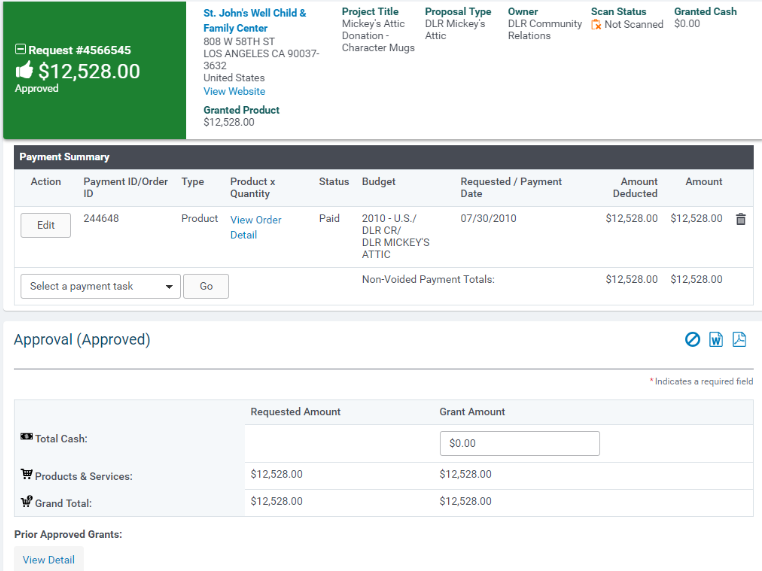
Orders are displayed in both the product and payment sections. The Products requested section displays the Quantity, Name/Description, Cost Price, List Price and Totals.
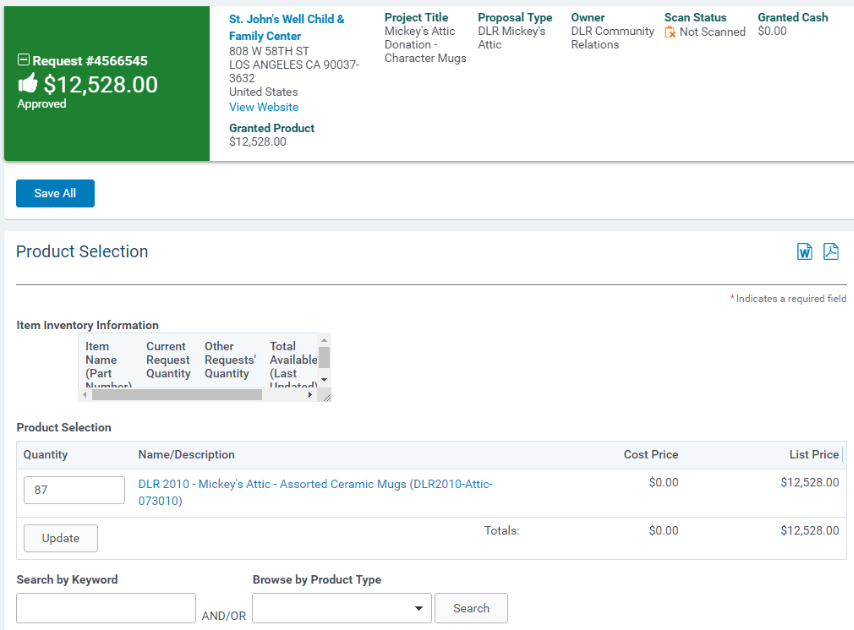
Product Display – Payment Section
In the payment section, a payment line is displayed for each product in the order identified with a payment ID number. In this section, you can assign the payee address, budget, requested /payment date and set the status of the payment by clicking the ‘Edit’ button at each line.
Product – Payment Details
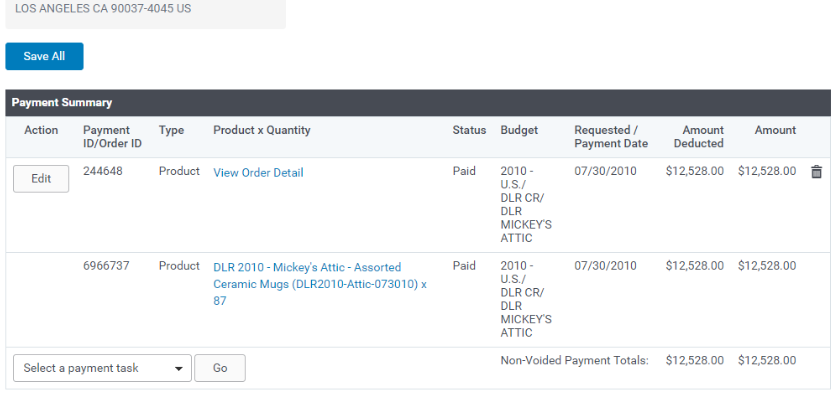
In the payment section, click the ‘View Order Detail’ link to expand the components of the order. You can then assign identical payment details for each line by clicking the ‘Edit’ button. When payment details are saved, it will apply to all of the individual products in the request. You can then edit the budget or requested ship date by completing the fields and clicking the Save button.
Product – Add new product
You can add a new product to an existing order by using the keyword search or browse by product type. Enter the quantity you wish and click the Add to Requested Products button. The products will be added to your shopping cart.
Product – Split Order
Open up the Order Detail for a specific product, check off the box in the Action column, select ‘Transfer to New Order’ in the dropdown menu and click the ‘Go’ button. This will create a new order for the product and quantity.
A new screen will appear for you to enter the product quantity to transfer. Enter the number you wish to split into a new order and click the Save button. A new payment line will appear in the Payment Summary and allow you to edit the Payee Information by clicking the ‘Edit’ button.


