Sections that need to be set up before you can create your employee engagement programs
General Configuration settings
Admin > Employee Application Configuration > General Configuration
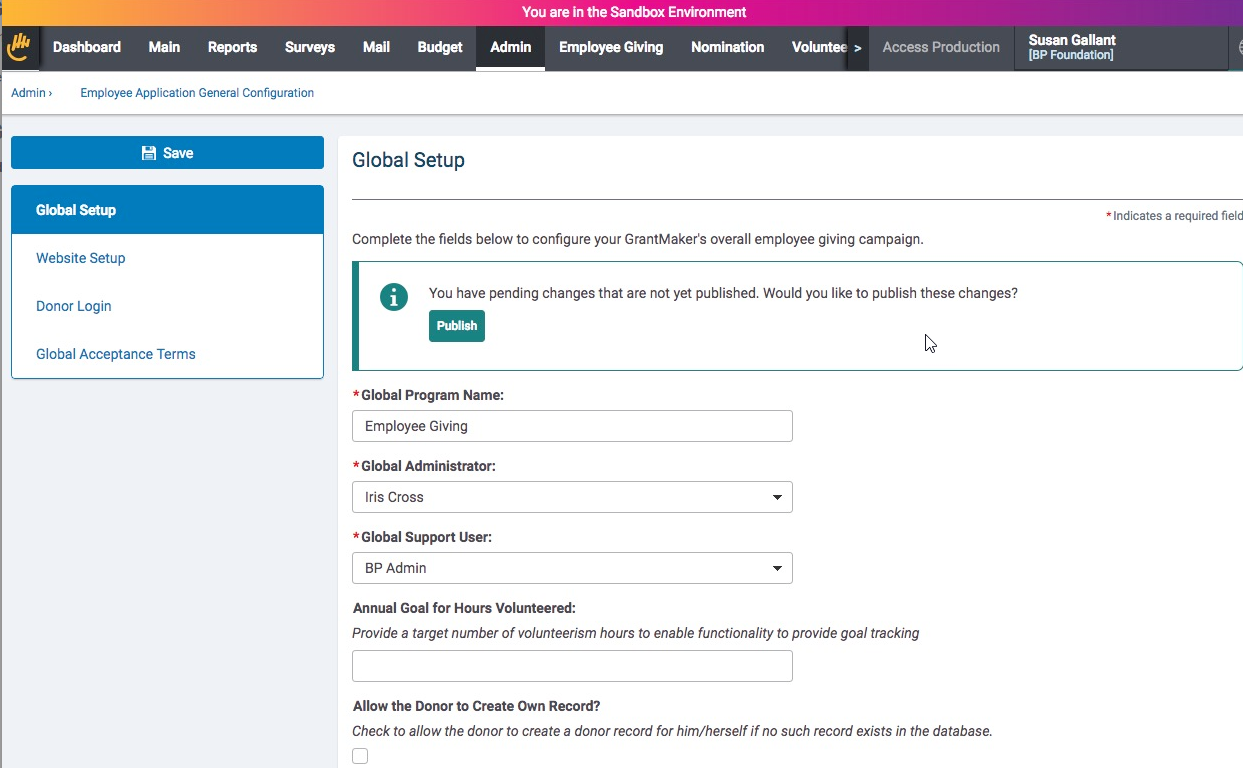
Global Setup
- Enter in Global Program Name: - The name entered here will show on each of the browser tabs for the Donor Pages.
- Global Users - Support emails - who are are sent to where no proposal type is linked to the page.
- Global Administrator: Emails sent FROM - typically the Admin from the client
- Global Support User: - Emails SENT TO - typically the CyberGrants contact center. A support user with a client-specific email address will be set up during implementation.
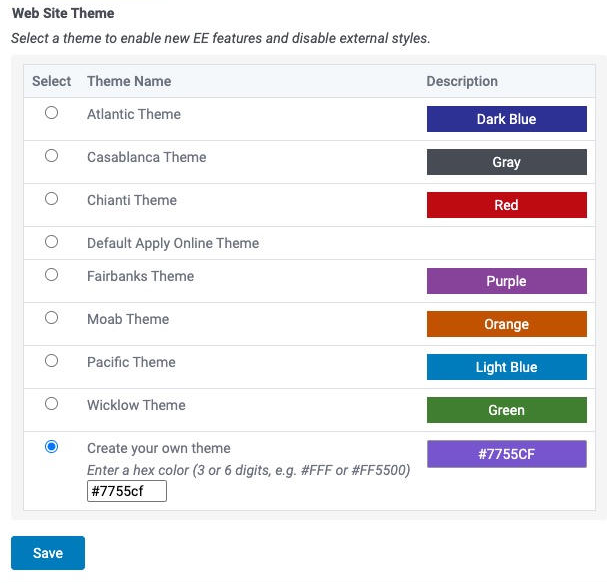
Website Setup
Donor Login
- Donor Module URL: This is the login link for employees to log into.
- Verify Donor Code Qualifier: This is the username/ID unique to each employee
- Enter any additional instructions for logging in and changing passwords
- Donor Registration Instructions: Change/Add text to the account registration page.
- Donor Login Instructions: Change/Add text to the login page.
- Donor Password Reset Instructions: Change/Add text to be displayed on the password reset page.
- Donor Password Change Instructions: Change/Add text to be displayed after clicking on the reset password link emailed.
- Save
Contact/Organization Type Data Fields
The following settings are now defaulted if the Grantmaker was cloned. However, list values and valid proposals should be adjusted based on client needs.
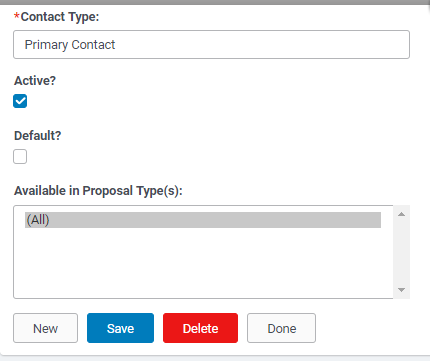
1. Create Default Contact list values
- Admin > Application Configuration > Data Fields > Contact
- In Search field enter Contact Type
- Choose Search to edit the field
- Within field, click Edit List Values
- To have a least one value, create New Entry
- Contact Type: Primary Contact
- Make Active
- Save
2. If using the Organization Type field on the confirmation application then list values will need to be created.
- Admin > Application Configuration > Data Fields > Organization
- In Search field enter Organization Type
- Choose Search to edit the field
- Within field, click Edit List Values
- Create New Entry
- Create Organizational Category: 'Health and Human Services', 'Environmental', 'other'
- Make each Active
- Discuss with client if this field is needed and if so, what other list values they need.


