Creating volunteer events through the portal is a great way to engage your colleagues and support causes you care about. Whether you're planning a one-time activity, a recurring schedule, or an ongoing opportunity, the Event Creation feature allows you to set up, manage, and track participation from start to finish.
The following steps will guide you through the implementation process, from initial planning through ongoing management.
Step 1: Start creating your event
- From the home page, select Manage Events in the top navigation bar.
- On the Manage Events page, click Create Event.
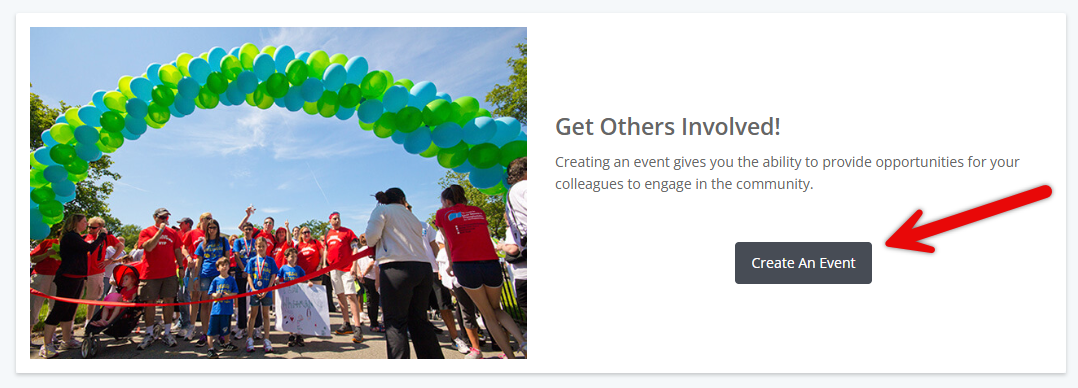
- Use the search fields to enter your organization's name, then click Search.
- In the search results:
- If you see Nominate, submit a nomination for review before continuing. You will be notified once the organization’s status has been determined.
- If you see Select, click it to proceed.
Step 2: Enter event details
On the Event Information page, provide the following:
- Opportunity Title - Use a clear, descriptive name to help volunteers understand what the event is about.
- Event Frequency - Choose one of the following options:
- One-time - A single event.
- Recurring - Multiple events on a repeating schedule.
- Ongoing - A continuous event spanning multiple days.
Tip: For one-time events with shifts, enter the start and end dates, times, and time zone. Then select Enable Shifts.
Step 3: Configure shifts (if applicable)
If your event uses shifts:
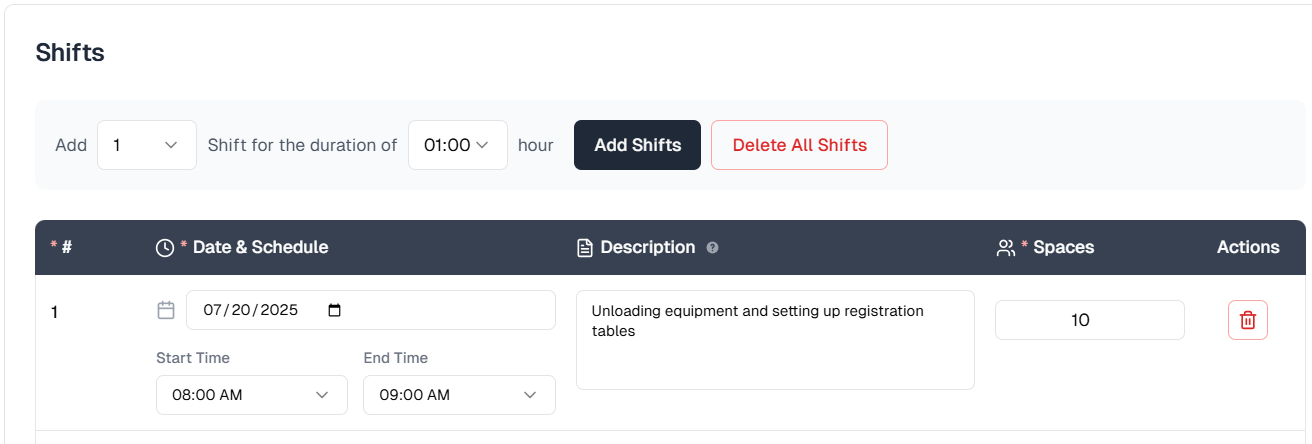
- Specify the number of shifts and the duration of each.
- Click Add Shifts to auto-generate them.
- Adjust shift dates and times as needed.
- For each shift, enter the number of volunteer spaces.
- For each shift, also enter a description outlining the responsibilities or activities associated with that shift. This description will be visible to volunteers during signup.
- The Max Number of Volunteers field will update automatically.
Step 4: Define visibility and registration settings
- Publicly Available - Select No to make the event invitation-only.
- Signup Deadline - Set a cutoff date for volunteer sign-ups, if needed.
- Description - Provide a detailed explanation of the opportunity.
- Event Type, Skills, Interests, Causes - Choose applicable categories to improve searchability.
For events without shifts, enter the maximum number of volunteers manually.
- Waitlist - Choose whether to allow waitlist sign-ups once the event is full.
- If not selected, registration closes when the limit is reached.
Step 5: Add participant and location options
- Friends and Family - Select Yes to allow employees to invite others. These participants count toward the total volunteer limit.
- Virtual Opportunity:
- Select Yes for virtual events; then, complete the following additional fields:
- Virtual URL – Enter the web address participants will use to join the event. This field includes validation to ensure a valid link format.
- Virtual Event Information – Provide any supporting access details, such as dial-in numbers or platform instructions.
- If No, enter the physical location details, including:
- Venue
- Country
- Address
- City, State, ZIP code
Step 6: Enter team lead contact information
Provide the full name, email address, and phone number of the event’s primary contact. This person will handle questions and communication related to the event.
Step 7: Save and submit your event
- Click Save and Proceed to continue.
- Review your event information on the next screen.
- Click Submit to finalize the event.
If auto-approved, your event will appear under Manage Open Events. If approval is required, it will display after Admin review.
Step 8: Manage your event
From the Manage Open Events section, click View in the Action column. Available actions may include:
- Edit event details
- Clone the event
- View and edit the participant roster
- Log volunteer hours
- Email participants
Visibility of these options depends on your permissions.
Step 9: Finalize after the event
After the event concludes, it moves to the Manage Completed Events section, where you can access attendance records and log any remaining volunteer hours.
Not what you're looking for? Navigate to Understanding Event Management
Looking for training?
Explore this feature at your own pace - access training video content or watch a recorded webinar by clicking the link below.


