The CyberGrants system provides administrators with the ability to configure email events. This streamlined process allows administrators to efficiently manage and customize the email events within the CyberGrants system, ensuring that communication during the application process is tailored to your program's requirements. Please proceed through the following steps to view and configure a Standard email event.
Step 1: Go to the Admin Tab
While in the CyberGrants Sandbox environment, navigate to the Admin tab.
Step 2: Go to Standard Events
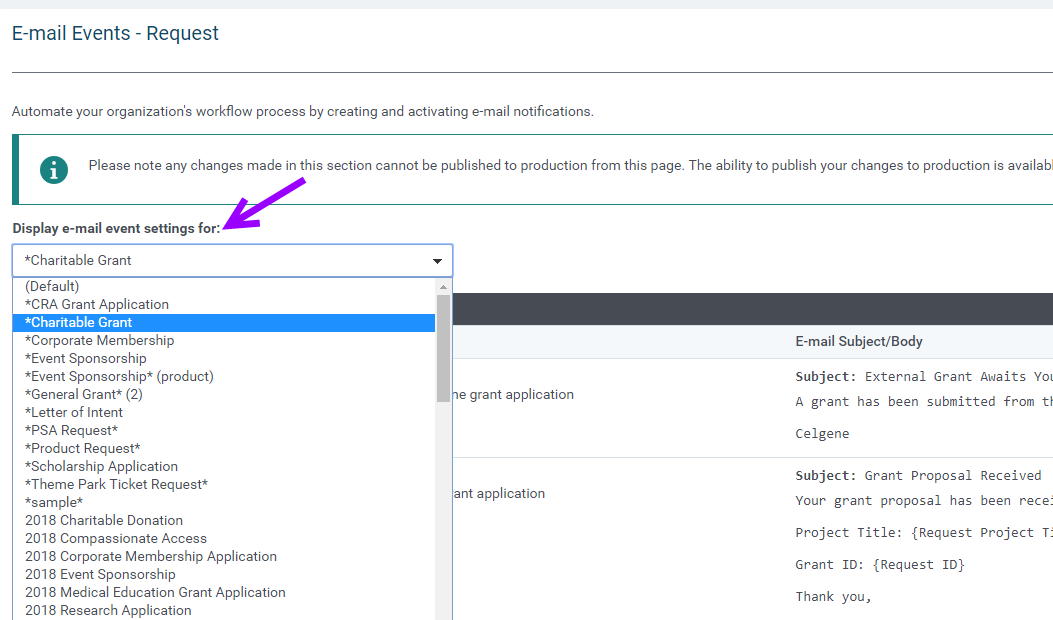
Click on the standard event under the E-Mail Configuration/Standard Events menu to display the requested E-mail Events table that you want to configure. To edit specific settings, you can select the appropriate event type from the "Display e-mail event settings for" dropdown. To make changes to the generalized (Default) text in the system, be sure to be under the Default settings.

Step 3: Trigger automatic emails
An Administrator can trigger automatic emails to send to internal users or to applicants when specific events in the program application process occur. This is done in the “Active?” column. Some email events are set to “active” by CyberGrants and display with a “Yes”. Other events are controlled by the Administrator and are activated by clicking on the check box in the “Active?” column.
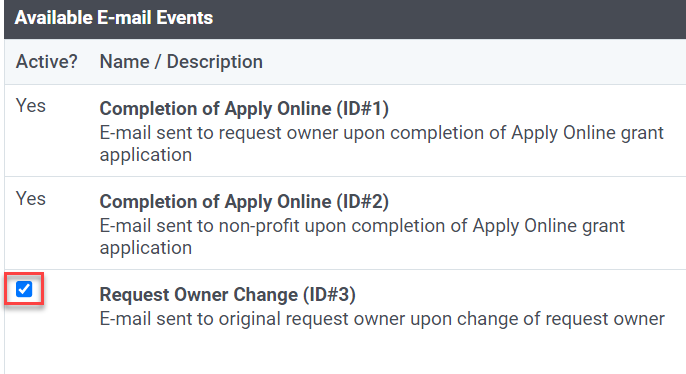
- Email events are activated/edited by an Administrator only and apply across the entire Grantmaker organization for all system users.
- All users can opt out of ALL email events in the “User Profile” link.
Step 4: Click Edit next to a Standard Event
To edit Default settings, click the Edit button corresponding to the appropriate email event name in the Available E-mail Events table.
Step 5: View Custom Sender
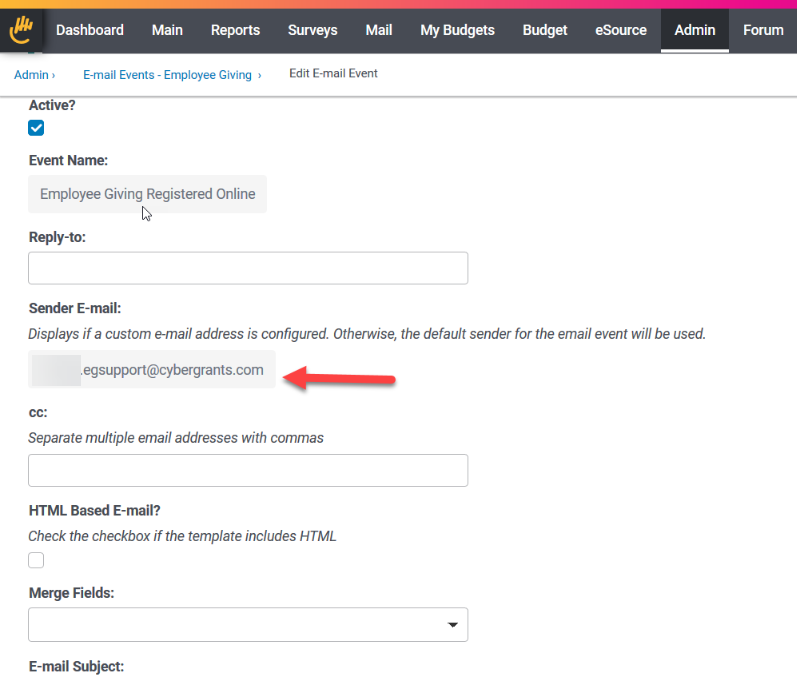
All internal admins with access to the email event configuration screens can view a custom sender when configured for an email event. *Note that this is a read-only field. Configuring a custom sender requires coordination between the client and CyberGrants.
Step 6: View/Edit the email Subject
An Administrator can change the subject of the email event in the “E-mail Subject” field of the “Edit E-mail Event” screen. The subject line can be organization and/or request-specific by using the Merge Fields. Merge Fields access information from the application data and systematically bring it into the email. The merge field is displayed in brackets.
- In the example above, the project title is specific to each request and appears in the subject line of the email (highlighted in the screenshot only).
Step 7: Configure an email event to send in HTML format
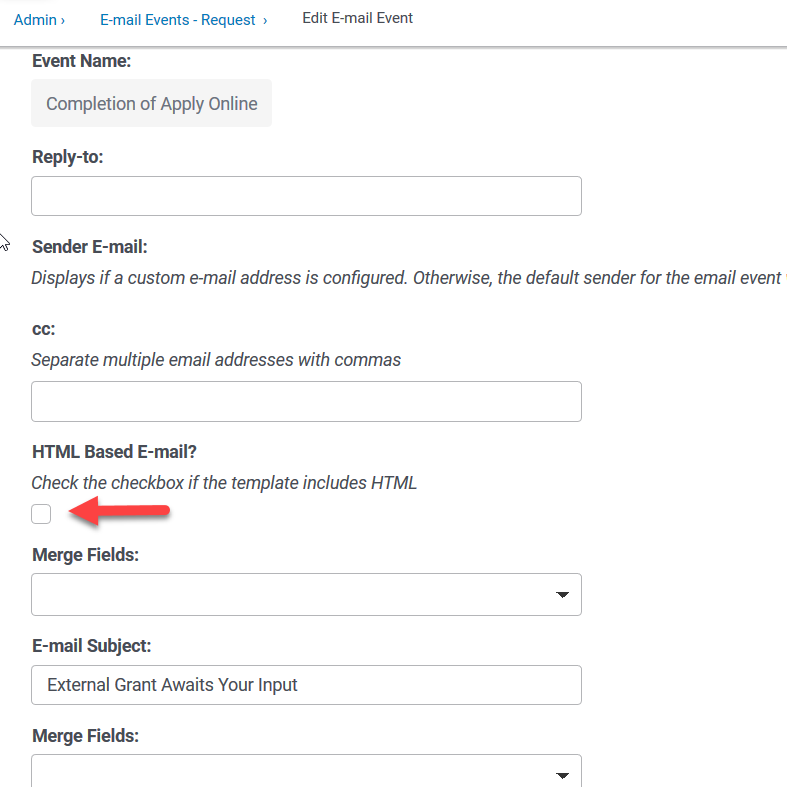
An Administrator has the ability to configure an email event to send in HTML format from configuration screens. To learn more about basic HTML, visit How do I use Basic HTML?
Step 8: Modify the email Body content
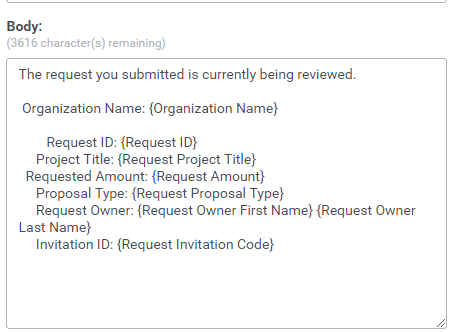
The content of the body text can also be modified in the “Edit Event E-mail” screen. Enter the general text that all recipients will receive. The Merge Fields are useful for bringing information directly from the actual request or organization information fields. *Merge fields use the following terms:
- GrantSeeker: A person associated with the proposal from the Non-profit Organization.
- Organization: Non-profit information residing in the Organization Screen
- Request/Impact Report: Information that comes directly from the fields of the Request or Impact Report.
- Request Owner/Gift Owner: Grantmaker user assigned to the Request or Gift.
Step 9: Configure email event to a proposal type
Each email event can be configured to a specific proposal type. Proposal type-specific email events are configured by choosing one or more proposal types in the “Apply current email event settings” multi-select box. *NOTE: E-mail Events apply across each proposal type by default. To make the changes to all proposal types, leave the “Apply current e-mail event settings:” on “Default”.
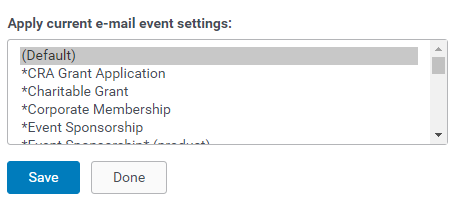
To edit email events associated with a specific proposal type, the Administrator first selects the appropriate proposal type from the “Display e-mail event settings for” dropdown list on the main E-Mail Events - Request page. The page reloads with the proposal type-specific information; the Administrator can modify the appropriate email event text.
Step 10: Click Save and Publish
When the updates are completed, click the "Save" button to save your changes and, then, "Publish" to migrate your changes to production.
What else do you need help with?
Not what you're looking for? Navigate to Understanding Email Event and Email Reminder Configuration
Looking for training?
Explore this feature at your own pace - access training video content or watch a recorded webinar by clicking the link below.


