Administrators can configure the CyberGrants system to automatically send email reminders to internal users at various stages of the application process. These email event reminders can be triggered for administrators, request owners, approvers, and other relevant parties, helping to ensure timely communication and adherence to workflow processes. Please proceed through the following steps to view and configure an Email Reminder:
Step 1: Go to the Admin Tab
While in the CyberGrants Sandbox environment, navigate to the Admin tab.
Step 2: Go to Reminders
On the Admin tab, navigate to the E-Mail Configuration section. Then, below "Reminders", click the hyperlink for the appropriate area. To edit specific settings, you can select the appropriate event type from the "Display e-mail event settings for" dropdown. To make changes to the generalized (Default) text in the system, be sure to be under the Default settings.

Step 3: Trigger automatic emails
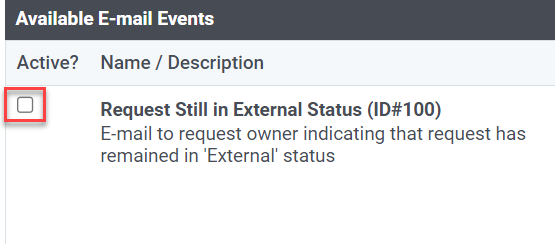
An Administrator can trigger automatic email reminders to send to internal users or to applicants when specific events in the program application process occur. This is done in the “Active?” column. Some email events are set to “active” by CyberGrants and display with a “Yes”. Other events are controlled by the Administrator and are activated by clicking on the check box in the “Active?” column.
Step 4: Click Edit next to an Email Reminder
To edit Default settings, click the Edit button corresponding to the appropriate email reminder name in the Available E-mail Events table.
Step 5: View Custom Sender
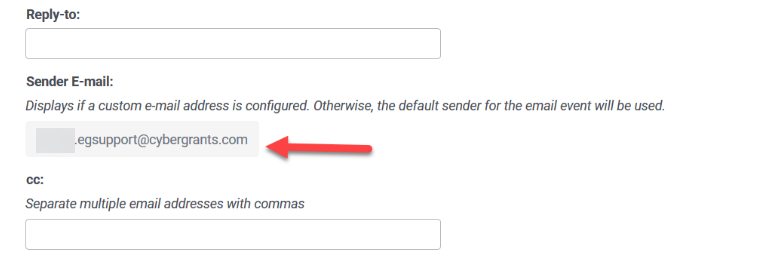
All internal administrators with access to the email event configuration screens can view a custom sender when configured for an email event.
Step 6: Modify Fields
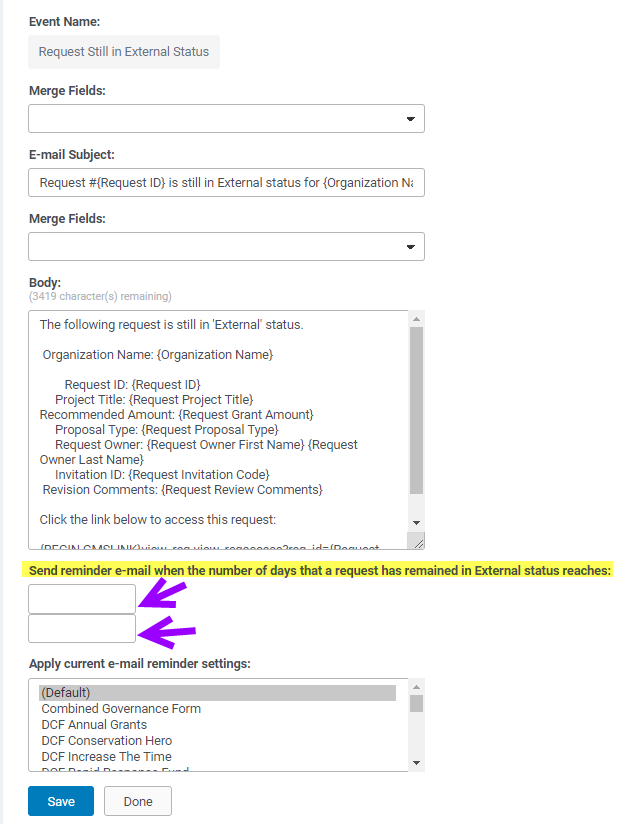
An administrator has the ability to add merge fields, update the subject, revise the body text, configure an email reminder to send in HTML format from the configuration screen, apply proposal type settings, and schedule email reminders similar to configuring email events. View tips on using HTML, by visiting How do I use Basic HTML? Proceed with modifying the fields, as necessary, and keep in mind that the "Active?" button must be selected to make the email reminder active in the system.
- Email reminders can be scheduled to be sent when conditions for the selected Reminder type are met.
Step 7: Click Save
When the updates are completed, click the "Save" button to save your changes.
Step 8: Click Save again
Click the "Save" button.
Step 9: Click Publish
Click the "Publish" button to migrate your changes to production.
Step 10: Click Done
Click the "Done" button to return to the Available E-mail Events table.
What else do you need help with?
Not what you're looking for? Navigate to Understanding Email Event and Email Reminder Configuration
Looking for training?
Explore this feature at your own pace - access training video content or watch a recorded webinar by clicking the link below.


