CyberGrants provides administrators the ability to create custom data fields, ensuring program data is structured, accessible, and tailored to their specific requirements.
Proceed through the following instructions to configure data fields.
Step 1: Access Data Field Section
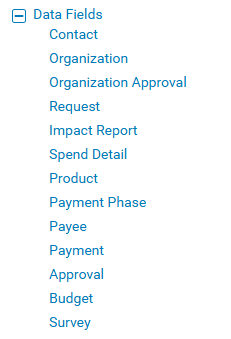
Begin by identifying the data type (Contact, Organization, Request, Payment, etc.) in which the data field belongs. Enter the Sandbox environment and click the corresponding section link under "Data Fields" on the Admin tab, to create a new data field within the desired category.
Step 2: Create a New Field
Scroll to the bottom of the screen and click the "New Field" button to create the field.

Step 3: Add the Field Name
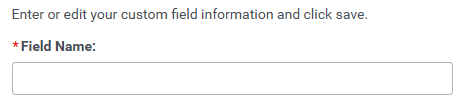
Enter a concise and descriptive "Field Name" (100 characters or less). This name will appear in the Proposal Type section's "Available" box, ensuring clear identification for users.
Step 4: Customize Field Status and Requirements
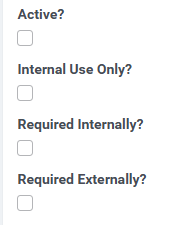
- Check the "Active?" checkbox to make the data field available for incorporation into the proposal type.
- Check the “Internal Use Only?” checkbox to display the data field to internal users only.
- Check the “Required Internally?” checkbox to make the data field required when a GrantMaker user enters or saves the section in which the field occurs.
- Check the “Required Externally?” checkbox to make the data field required for online applicants in the Apply Online interface.
Step 5: Span the Field Across a Row
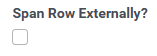
Check the "Span Row Externally" checkbox if you want the field to span an entire row within its Proposal Section, when the "Two Question Max Per Row" option is selected in the Application Layout of the Proposal Type.
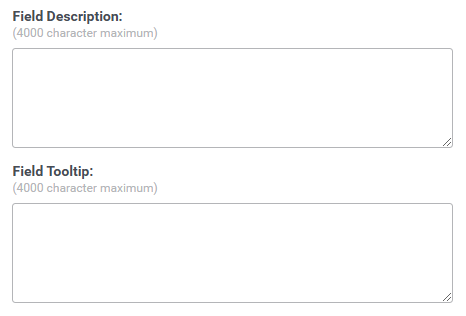
Step 6: Provide Field Description and Add a Tooltip
- Complete the optional “Field Description” section. The content of “Field Description” displays as the “Instructions” if the field is included in the Apply Online process; it displays in a pop-up window as field-specific help for internal CyberGrants users.
- Administrators can utilize the "Field Tooltip" to provide additional instructions <?> and user guidance.
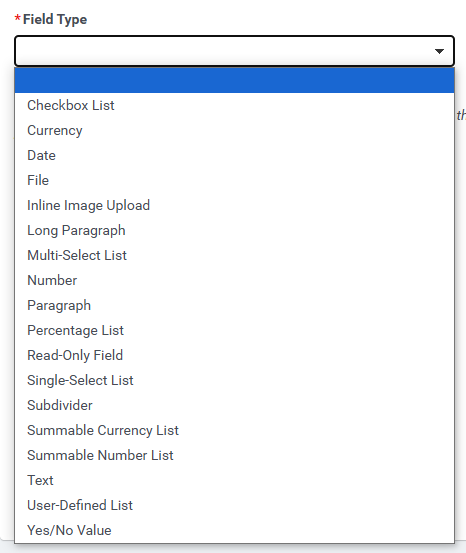
Step 7: Choose Field Type
Define the type of information allowed in the field by selecting from the “Field Type” dropdown box.
Additional information will appear on the screen based on the Field Type that was selected from the dropdown list. Adjust these parameters to suit your data management needs.
- NOTE: For Text, Number, Currency and Paragraph Fields, program administrators have the ability to define the number of characters allowed, up to a limit, and the size of the field.
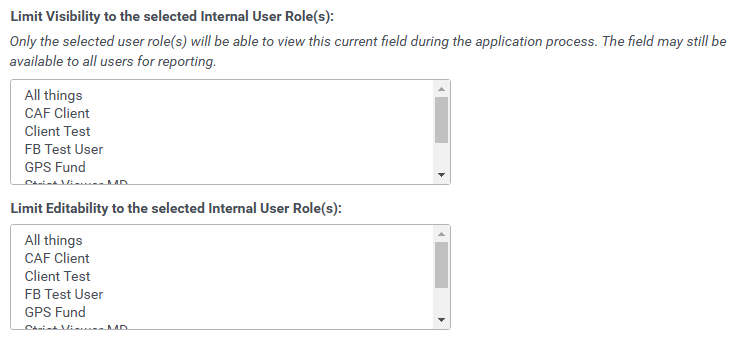
Step 8: Limit Field Visibility and Editability
Identify Internal User Role(s) that should have limited access to the field.
- Add Limit Visibility to the selected Internal User Role(s)
- Add Limit Editability to the selected Internal User Role(s)
Step 9: Save and Publish the Field
Once you have completed all the necessary configurations, click the "Save" button to finalize the creation of the new data field.
When prepared, proceed with publishing your changes to production on the individual custom field page.

What else do you need help with?
Not what you're looking for? Navigate to Create and Edit Fields Overview or visit Understanding Field Configuration


