The plot menu within an Insights Radial Gauge Visualization offers a comprehensive set of customization options, allowing users to tailor the appearance and behavior of the gauge to their specific needs. Insights users can adjust the trellis layout, customize the radial gauge view, range values, and labels, and select from various spinner types to create visually appealing and informative data visualizations.
Proceed as follows to customize the view of a Radial Gauge chart using the Plot Menu.
Step 1: Access a report through an Insights Explore
Log in to the CyberGrants platform and navigate to the Insights tab.

In the left-hand menu, select the "Analyze" option to view and choose from the available Explores.
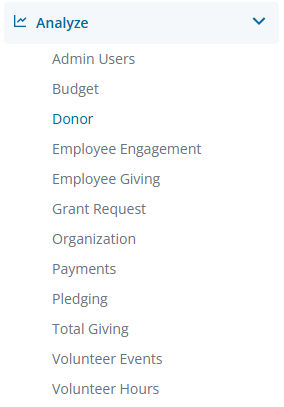
Create a new report by either building it from scratch by adding relevant fields or if any prebuilt Quick Start reports are available, select one of those as a starting point.
Step 2: View the Radial Gauge Visualization Plot Menu
Use the ellipsis in the Visualization toolbar to access the Radial Gauge Visualization type.
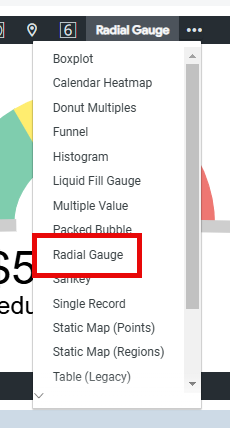
Click Edit in the right corner of the Visualization toolbar to access the Radial Gauge Visualization Plot Menu options.
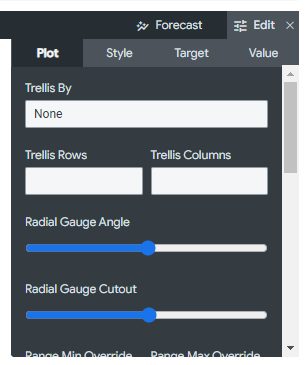
Step 3: Adjust Trellis Layout
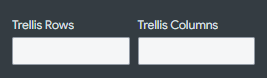
Modify the trellis layout by selecting from the following options:
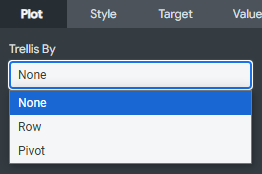
Adjust the size of the trellis rows and columns to optimize the visual representation and ensure optimal spacing between the gauges.
Step 4: Adjust Radial Gauge View
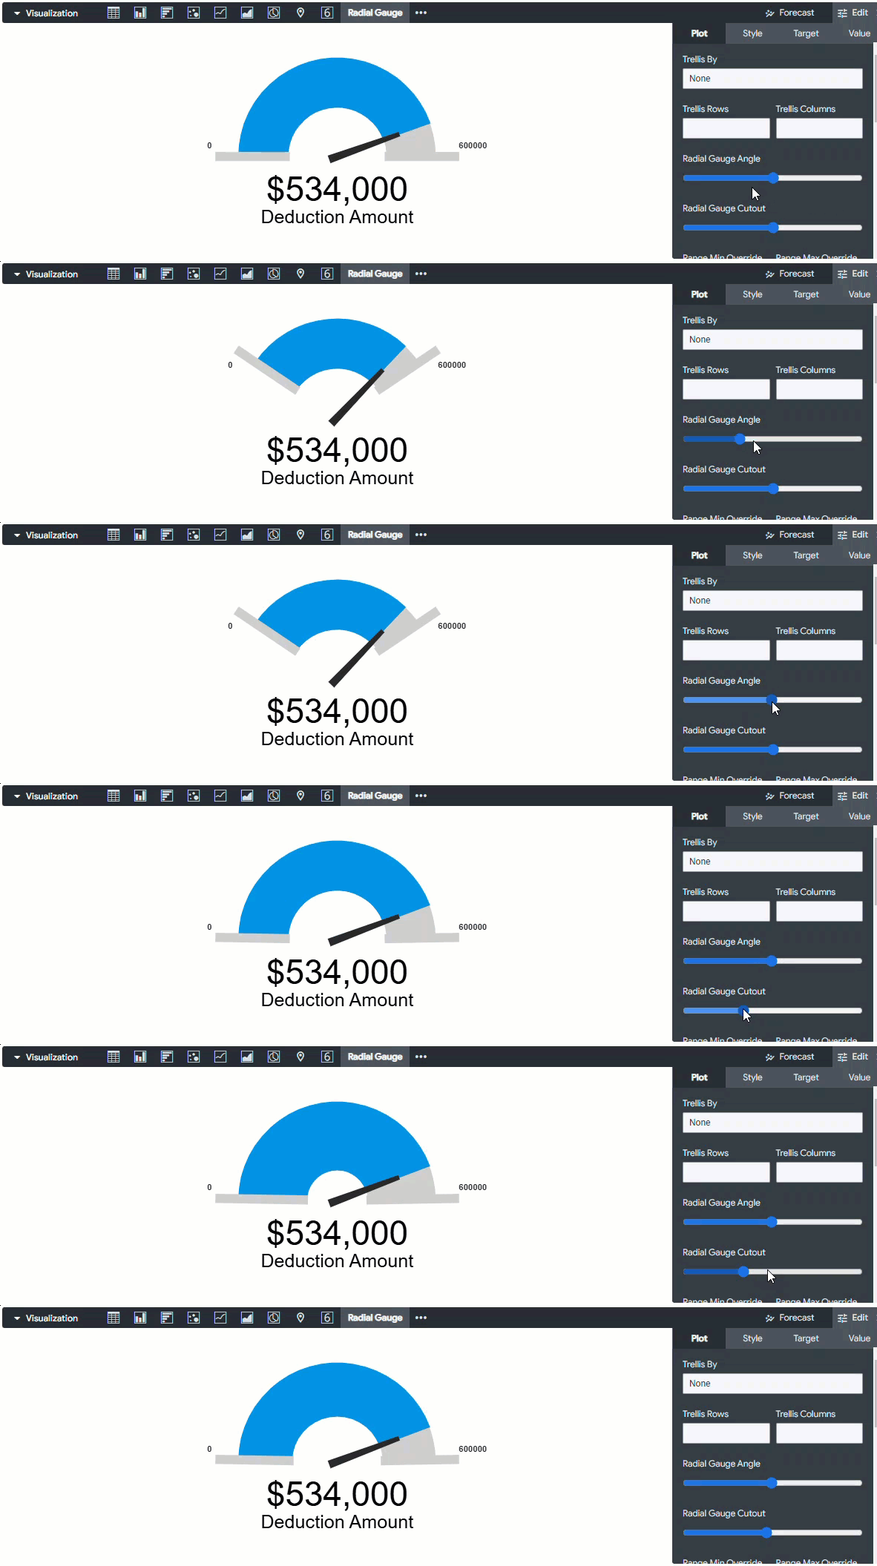
Change the radial gauge view by adjusting the gauge angle and cutout.
Step 5: Customize Range Values
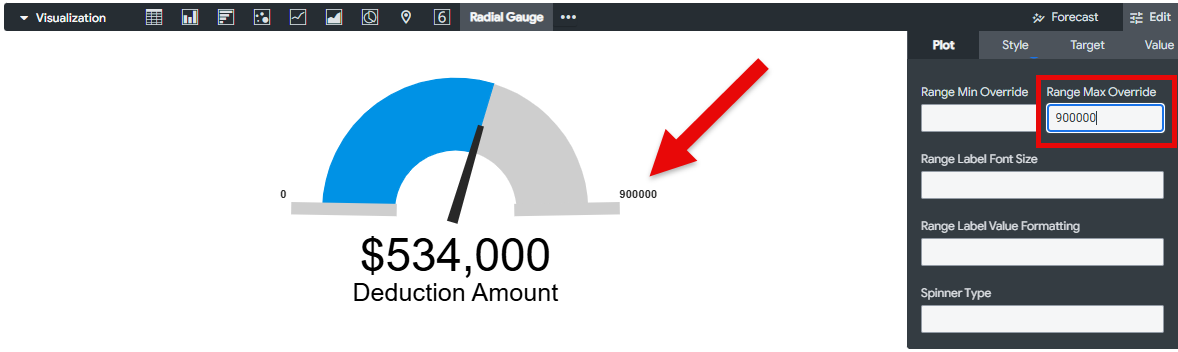
Update the range minimum and maximum values by overriding the default settings with specific values to better represent the data range.
Step 6: Modify Range Label Formatting
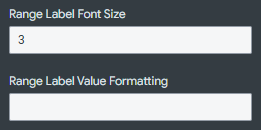
Adjust the range label font size to enhance readability. Customize the range label value formatting by entering a specific value format, such as currency or percentage, to align with the data being displayed.
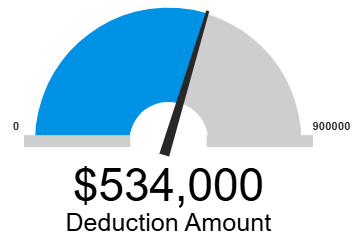
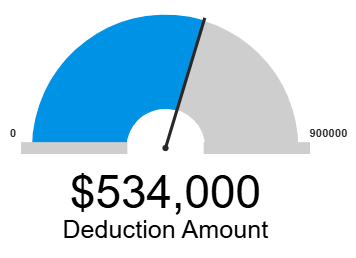
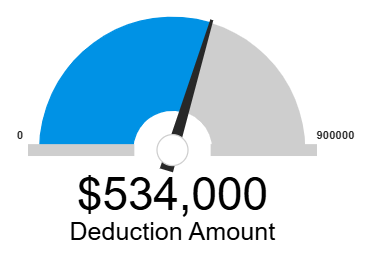
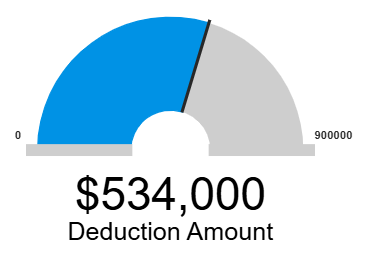
Step 7: Select Spinner Type
Choose from the available spinner types:
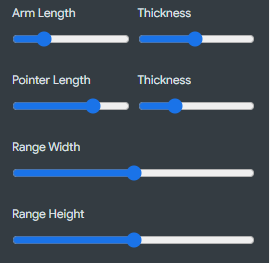
Step 8: Customize Spinner Attributes
Adjust the spinner arm and pointer's length, thickness, and range width, as well as the height, to achieve the desired visual effect. Experiment with different settings to find the optimal balance between aesthetics and clarity.
What else do you need help with?


