Insights users can leverage the Style Menu within a Radial Gauge Visualization to customize the appearance and presentation of their data. The Style Menu offers a range of options, including Gauge Fill Type, Gauge Fill Color, Gauge Segment Colors, Background Color, Pointer Color, and Range Label Color.
To learn more about customizing the Radial Gauge Visualization through the Style Menu, proceed through the following steps.
Step 1: Access a report through an Insights Explore
Log in to the CyberGrants platform and navigate to the Insights tab.

In the left-hand menu, select the "Analyze" option to view and choose from the available Explores.
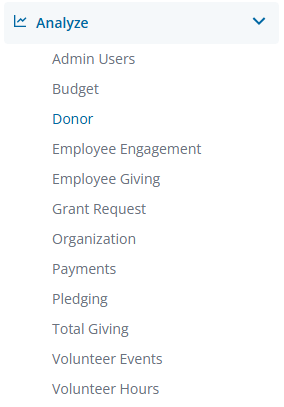
Create a new report by either building it from scratch by adding relevant fields or if any prebuilt Quick Start reports are available, select one of those as a starting point
Step 2: View the Radial Gauge Visualization Style Menu
Use the ellipsis in the Visualization toolbar to access the Radial Gauge Visualization type.
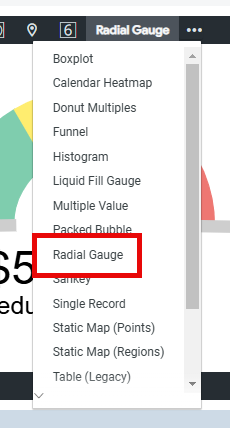
Click Edit in the right corner of the Visualization toolbar to access the Radial Gauge Visualization Style Menu options.
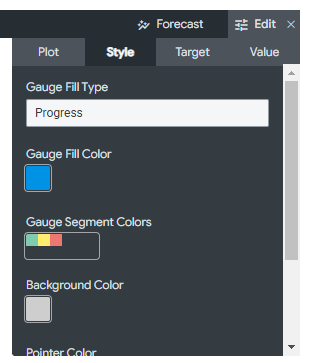
Step 3: Select a Gauge Fill Type
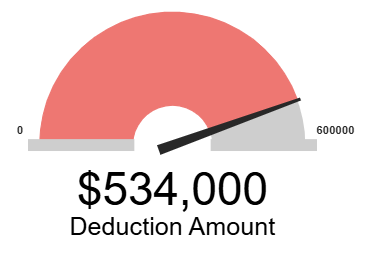
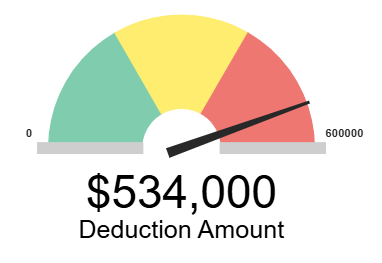
Determine how you want progress to be visually represented within the gauge itself by selecting a Gauge Fill Type.
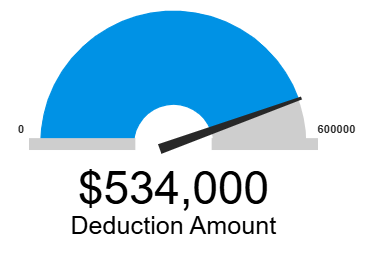
Step 4: Update the Gauge Fill Color
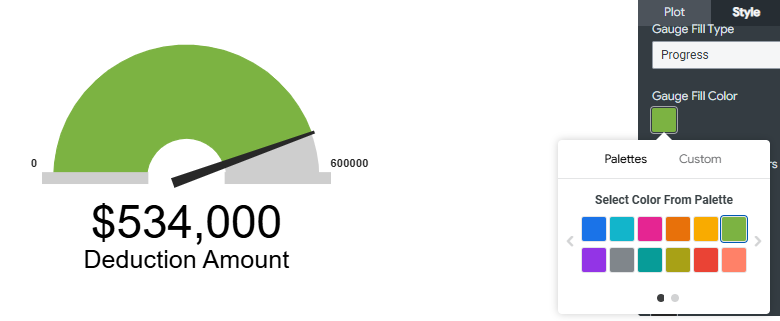
To determine the progress color when a "Progress" Gauge Fill Type is being utilized, update the Gauge Fill Color. Choose from a color palette or select a custom color.
Step 5: Customize the Gauge Segment Colors
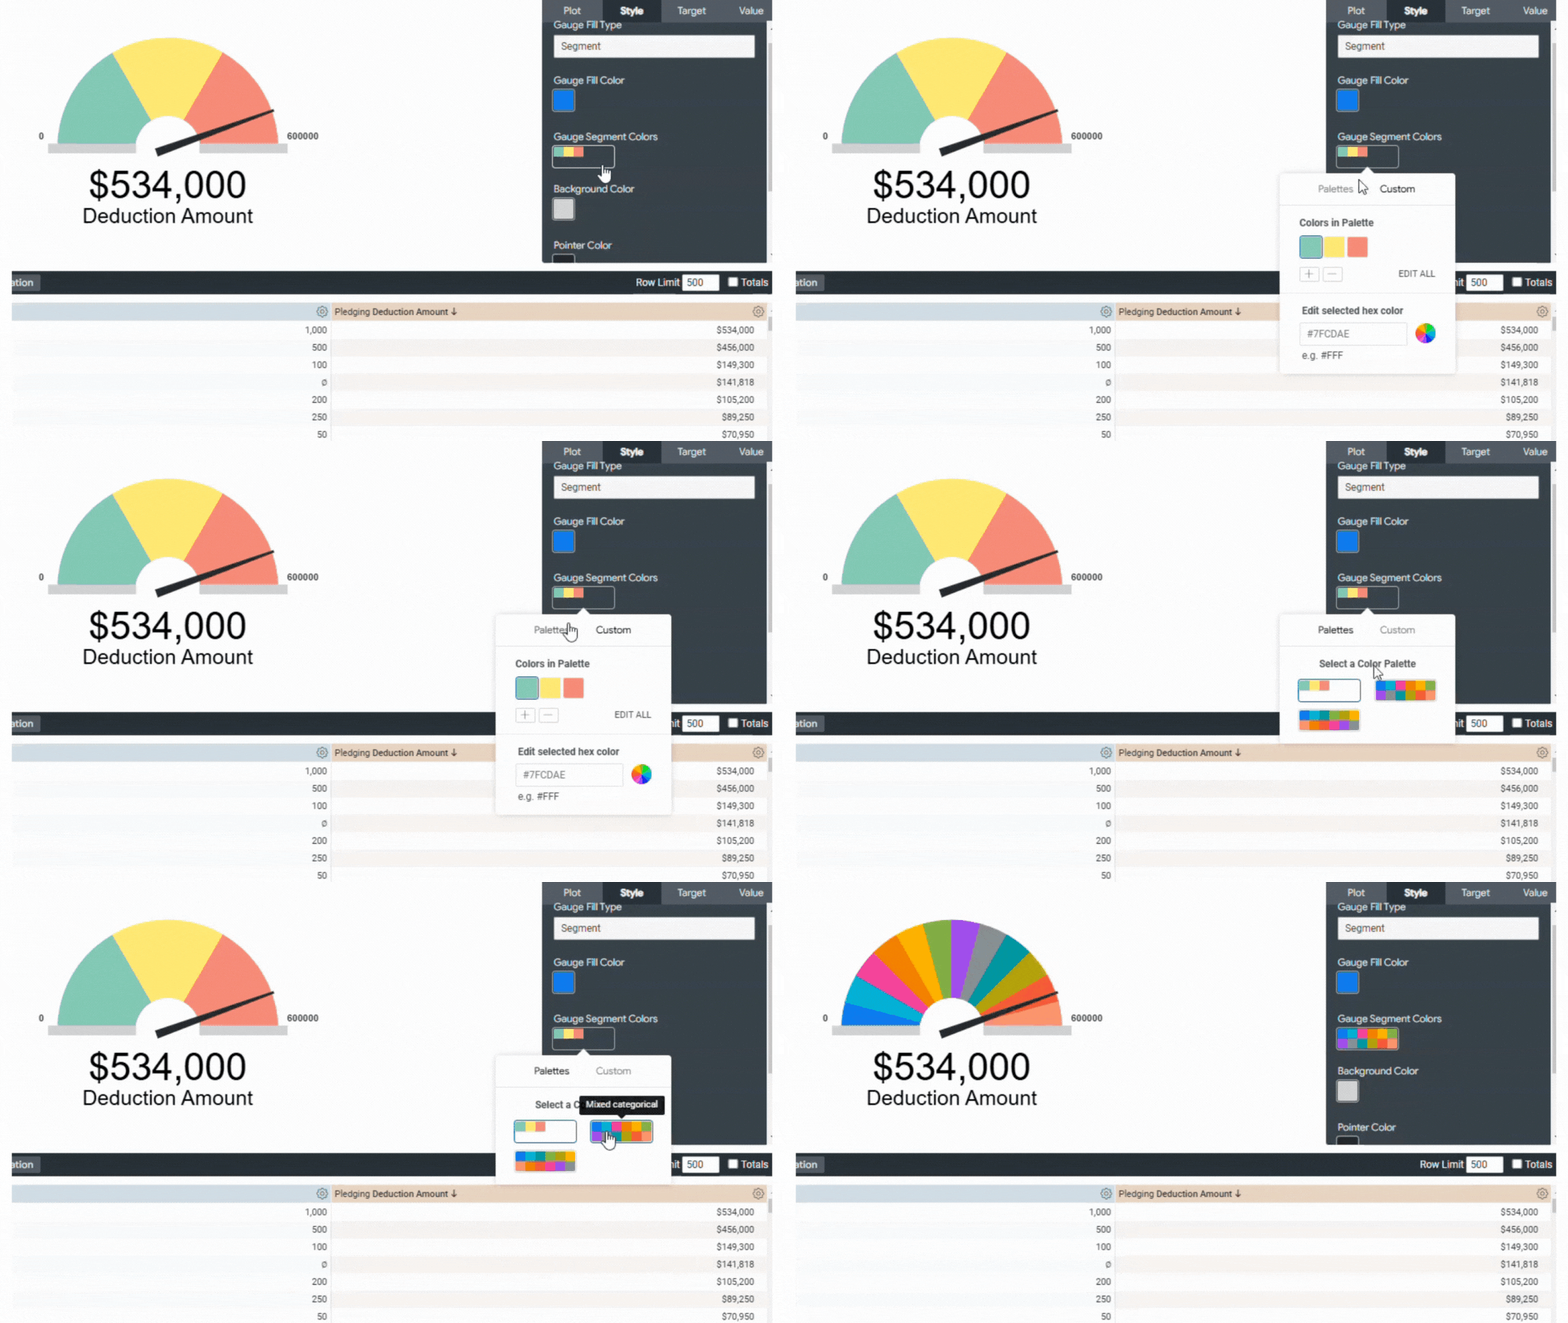
To determine the color scheme when using the "Segment" Gauge Fill Type, you can update the Gauge Segment Color by either selecting from our predefined Color Palettes or choosing a custom color scheme.
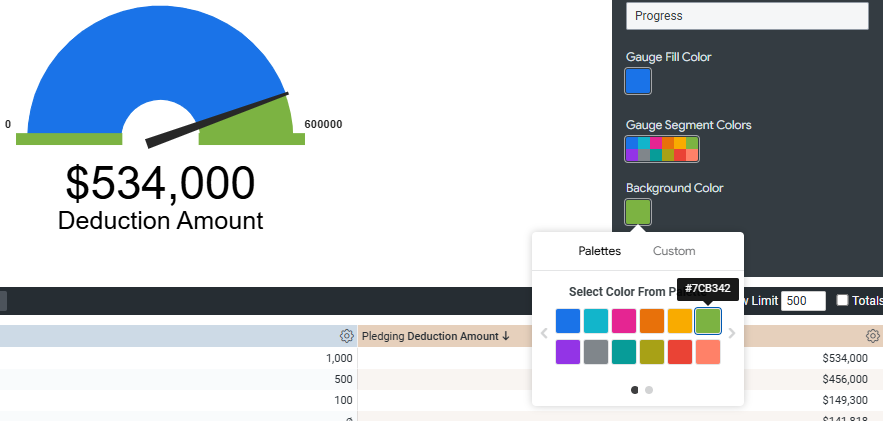
Step 6: Select a Background Color
Select the desired background color for the radial gauge.
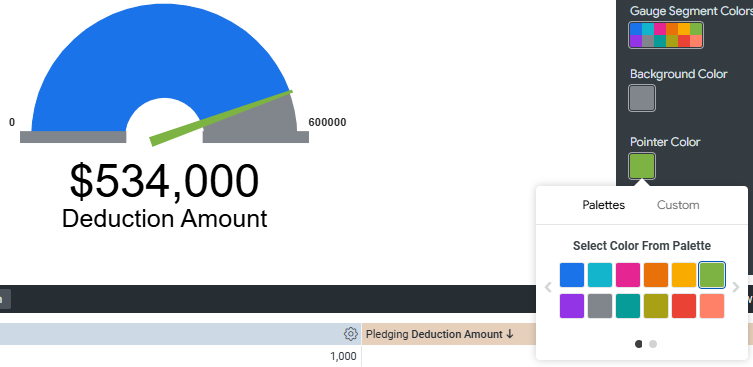
Step 7: Change the Pointer Color
Change the color of the gauge's pointer.
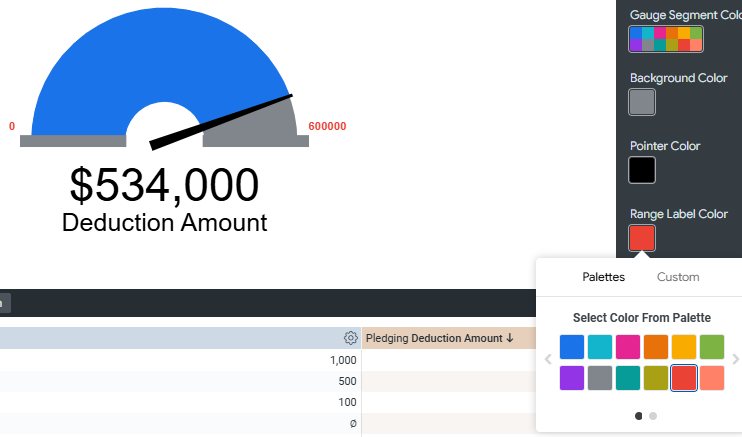
Step 8: Choose a Range Label Color
Choose a color for the range labels displayed on the gauge.
What else do you need help with?
Not what you're looking for? Navigate to Understanding the Insights Radial Gauge Visualization


