The Search Section is used to define criteria to search for organizations and requests. You must search by at least one criterion in order to display results.
Step 1: Select a Tab
Navigate to the Main, Surveys, Employee Giving, Nomination, or Volunteer Events tab within CyberGrants.
Step 2: View the Search Section
This is the area used to define criteria to search for organizations and requests.
Step 3: Change the Number of Results Per Page
By default, CyberGrants displays up to 100 search results at a time in the Results Section. If the query produces more than 100 results, “Next”, and/or “Prev” links appear at the bottom of the Results Section, and page number links appear at the bottom of the Results Section. These links allow a user to move through the returned search results.
You have the ability to change the number of results per page by choosing a different number from the drop-down list:
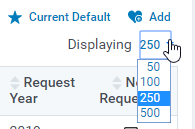
Step 4: Customize the Default Search Criteria
You may customize the default search criteria that are displayed on your Main Tab by clicking on the “Preferences”  button on the right side of the search filters. (See "How to set Search Filters" and "How to add Columns")
Step 5: Set a Default Search
Each user can choose a set of search criteria as their default search. To create a customized default search, do the following:
- Select the desired search criteria.
- Click the "Search" button to display the results.
- Click the "Make Default" button to set the current search as the default.
Alternatively, you can select a Favorite Search from the dropdown and click "Go" to make that the default. If you would like to make your own from your Favorite Searches Default, do the following:
- Select your Favorite Search from the “Select Favorite Search” field.
- Click the “Go” button. Your results will be displayed in the Results Section.
- Click the “Make Default” button.

NOTE: Only one set of search criteria can be the default at any given time. Therefore, if a user previously designated a search as the default, and then clicks the “Make Default” button for another search, the first search criteria is overwritten by the new default search.
Step 6: Use the Keyword(s) Search Field
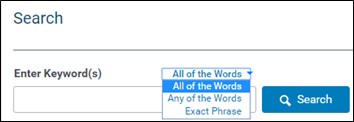
To locate a specific organization enter the words in the “Keyword(s)” field. For example, enter the words “orphans”, “children”, “New York” in the Keyword(s). Use the selection field to indicate if the search should include:
- all of the words (e.g. “children” and “orphans” and “‘New York”)
- any of the words (e.g. “Children” or “orphans” or “New York”)
- exact phrase (e.g. “orphans children New York”)
NOTE: The search automatically considers words and letters around the keyword entry. For example, entering “child” returns matches containing “child”, “children”, “stepchild”, etc.
Step 7: Add Search Filters
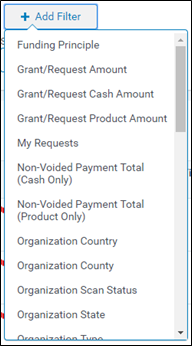
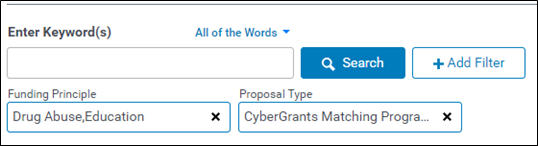
To narrow down your search results by certain criteria, choose which filters to use. By default, the system uses no filters, only the Keyword Search. Click the “Add Filter” button to select criteria:
After choosing your filters, define the items by selecting the ones desired:
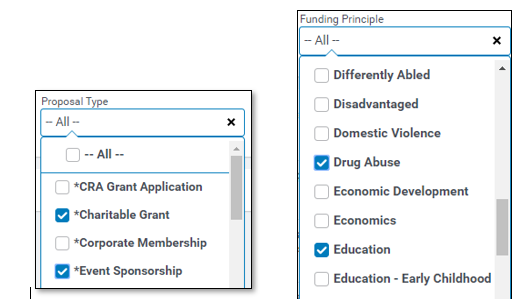
The default selection after choosing a selection filter is “All”. If you choose an actual list value, the “All” selection will become unselected. If one of the filters is no longer desired, click the x next to the filter to remove it from your search:
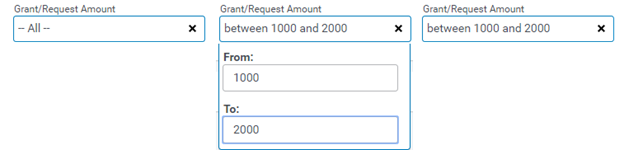
Some search filters are entry filters rather than selection filters (e.g. Request ID, Organization ID, Submitted date, Request Amount, etc.). These fields will always have “All” display before the search has been executed. Click the menu drop-down arrow and an entry field(s) will open to be completed. After the fields have been completed, the filter will display what will be searched:
Step 8: Execute the Search
After setting all your search criteria, click the "Search" button to display the desired results.
Remember, you can customize the default search criteria and save your favorite searches for easy access in the future.
What else do you need help with?
Not what you're looking for? Navigate to Understanding Search Configuration


