The Insights platform offers a range of options to edit existing tiles, allowing Analysts to tailor dashboards to meet their specific program data analysis needs.
To begin, click the vertical ellipses menu in the top right corner to select "Edit dashboard" on the dashboard you are updating. This will put you in "Editing" mode, indicated by a blue banner along the top of the dashboard.
Once in Edit mode, navigate to an existing visualization within your dashboard and proceed through the following steps to make changes to the tile.
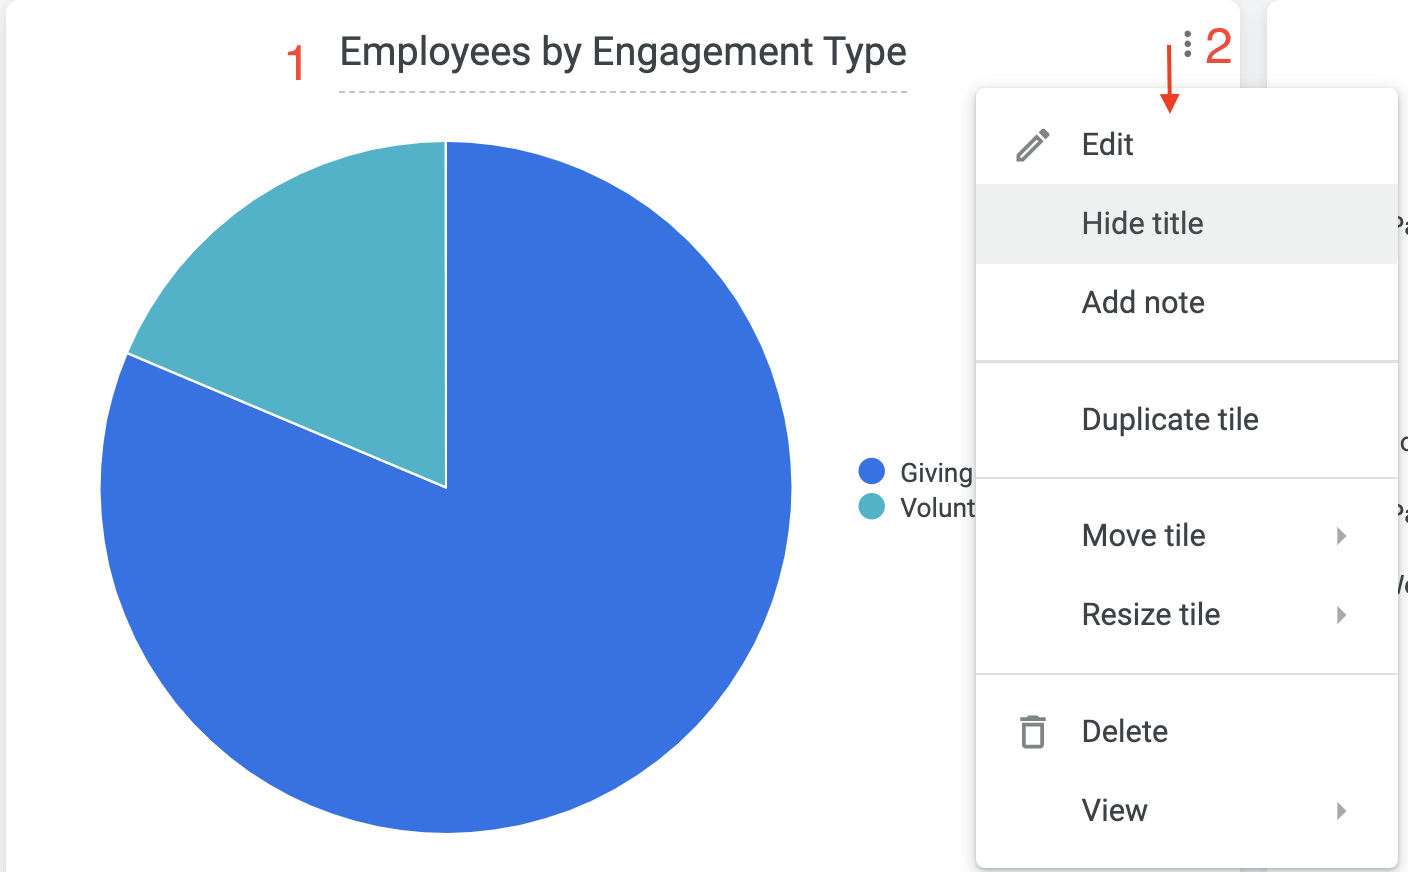
Step 1: Rename the Tile Title
To change the title of a tile, simply click on the existing title. This will allow you to enter a new, more descriptive name that better reflects the content of the tile.
Step 2: Access the Edit Menu
Click on the vertical ellipses menu located in the top-right corner of the tile. This will unveil a dropdown menu with various editing options, which we will explore in the following steps.
Step 3: Edit the Data Set
Edit the underlying data set that supports the tile, without having to leave the dashboard. This will allow you to make any necessary changes to the data, ensuring the visualization accurately reflects the information you want to convey.
Step 4: Hide the Tile Title
If you prefer, you can choose to hide the tile's title by selecting the "Hide title" option from the dropdown menu.
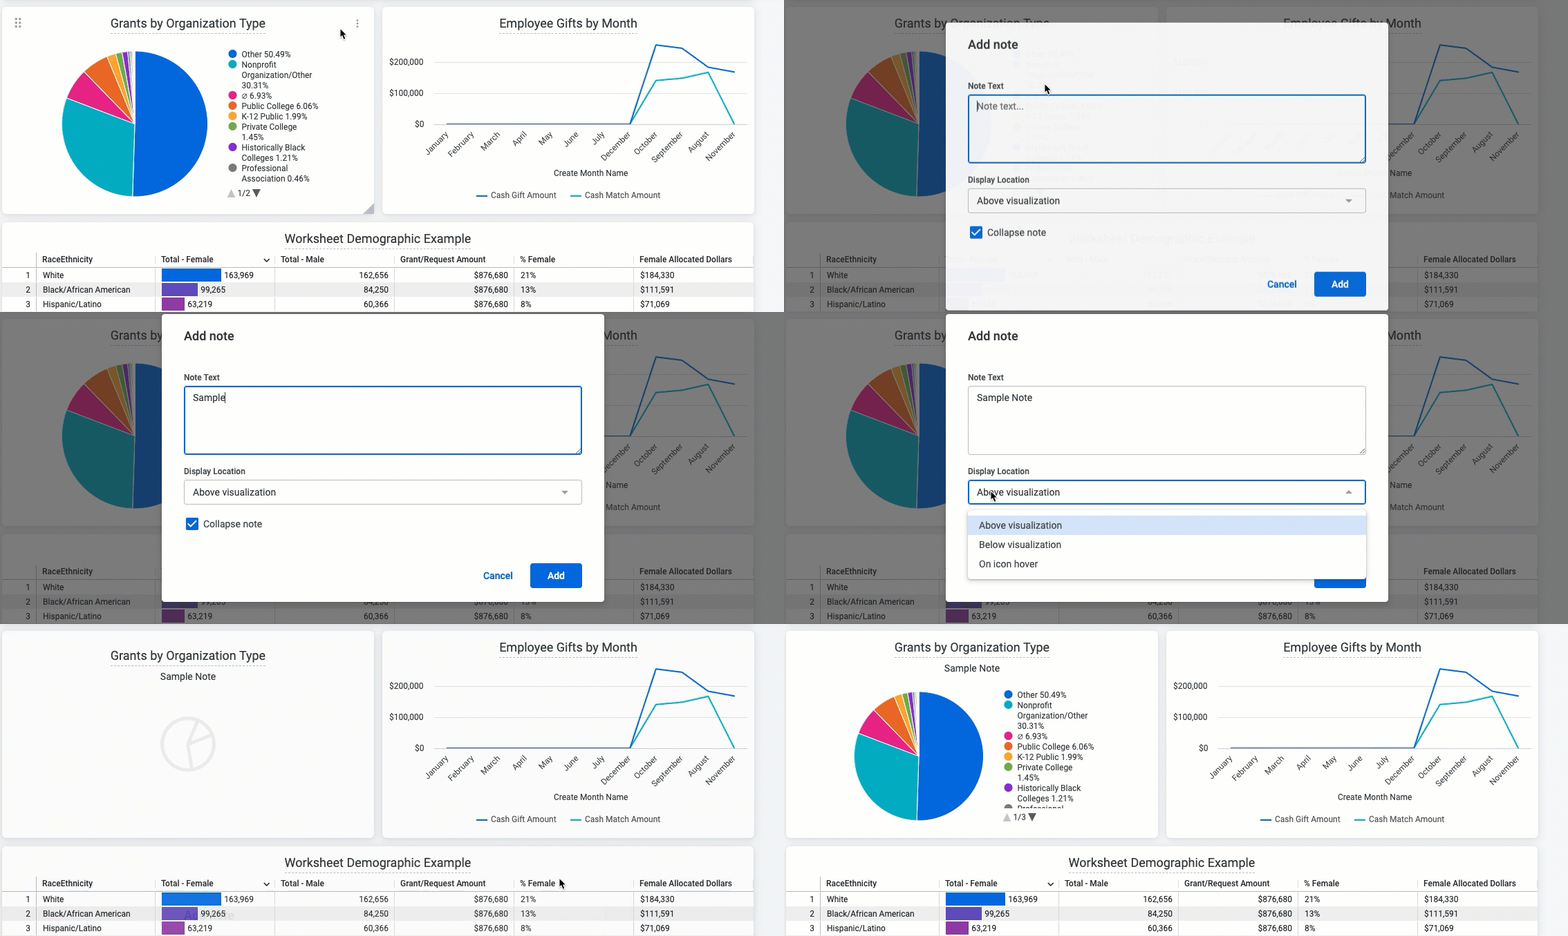
Step 5: Add a Custom Note
"Add note" enables you to provide additional context or information about the tile. When selecting this option, you will be prompted with a secondary modal where you can do the following:
- Enter the text of your custom note
- Determine if you want this description to display above or below the visualization, or only on an info icon hover.
- If you have selected above or below visualization, and your note is on the lengthier side, you can select to have the note collapsed (truncated) by default.
NOTE: A custom note can include up to 2,000 characters, including spaces.
Step 6: Duplicate the Tile
The "Duplicate Tile" option allows you to quickly make a copy of the tile, placing it at the bottom of your dashboard.
Step 7: Move the Tile
The "Move Tile" option gives you the flexibility to rearrange the tiles by quickly moving a tile to the top, bottom, left, or right side of the dashboard.
Step 8: Resize the Tile
The "Resize Tile" options give you the flexibility to adjust the size of the tile. You can choose from pre-defined size options, ranging from extra-small to extra-large, to ensure the tile fits seamlessly within the overall design.
- Extra small — Each tile takes up one-sixth of the dashboard row.
- Small — Each tile takes up one-fourth of the dashboard row.
- Medium — Each tile takes up one-third of the dashboard row.
- Large — Each tile takes up one-half of the dashboard row.
- Extra Large — Each tile takes up the entire width of the dashboard row.
Step 9: Delete the Tile (if necessary)
If you no longer need a particular tile, the "Delete" option allows you to remove it from your dashboard. This action only deletes the tile from your dashboard and does not delete the report from Insights.
Step 10: Adjust Tile View
The "View" option allows you to view the tile in either Expanded or Full-Screen mode.
Step 11: Save Changes
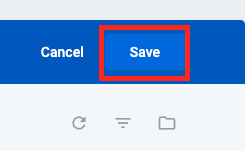
Remember to save your changes by clicking the "Save" button in the top-right blue banner once you have finished editing your dashboard.
What else do you need help with?
Not what you're looking for? Navigate to Create an Insights Dashboard Overview


