Curious how to add dashboard tiles from more than one Explore? Watch this quick walkthrough to learn how it works.
Insights dashboards allow users to visualize data through customizable tiles created from Explores. Typically, all tiles in a dashboard use the same Explore type, ensuring that filters work consistently across all data sources. However, there may be times when you want to add a tile from a different type of Explore to an existing dashboard. This capability is available to Insights Analysts, who have access to create and modify tiles, as well as dashboards.
Review the following instructions to learn how to add tiles from more than one Explore and manage filters effectively within a single dashboard.
Step 1: Access Insights and open an Explore
Begin by navigating to the Insights tab in Bonterra CyberGrants. Then, choose an Explore that contains the dataset you want to use and begin building your data table. Use the Explore interface to define the data for your new tile.
- Use the field picker to select the dimensions and measures you want to include.
- Apply any necessary filters to refine the data.
- Save and run the report to view the results from the fields you added.
- Review the Data Table to confirm the data displays as expected.
- Choose an appropriate visualization type to best represent your data.
Step 2: Save to an existing Dashboard
When your Explore is ready, save it to an existing dashboard
All standard dashboards use tiles from a single Explore, although you can add a tile from a different Explore. If the dashboard already contains tiles from a different Explore, a banner will appear at the top of the dashboard with the message “Unable to cross-filter. Tiles from multiple explores have been added to this dashboard.”
-
Standard dashboards have cross-filtering enabled by default. While enabled, this requires that all tiles use the same Explore, prompting you to click “Fix Dashboard” to remove tiles that don’t match the same Explore in the dashboard.
Step 3: Disable Cross-filtering
To continue adding your new tile from a different Explore, you’ll need to disable cross-filtering.
- While still in edit mode, go to the Filters section of the dashboard.
- Locate the Cross-filtering option and toggle it off.
- Disabling cross-filtering allows you to include tiles from multiple Explores.
Step 4: Configure the new tile
Once cross-filtering is disabled, finalize the setup for your new tile.
- Give the tile a name that reflects the data it represents.
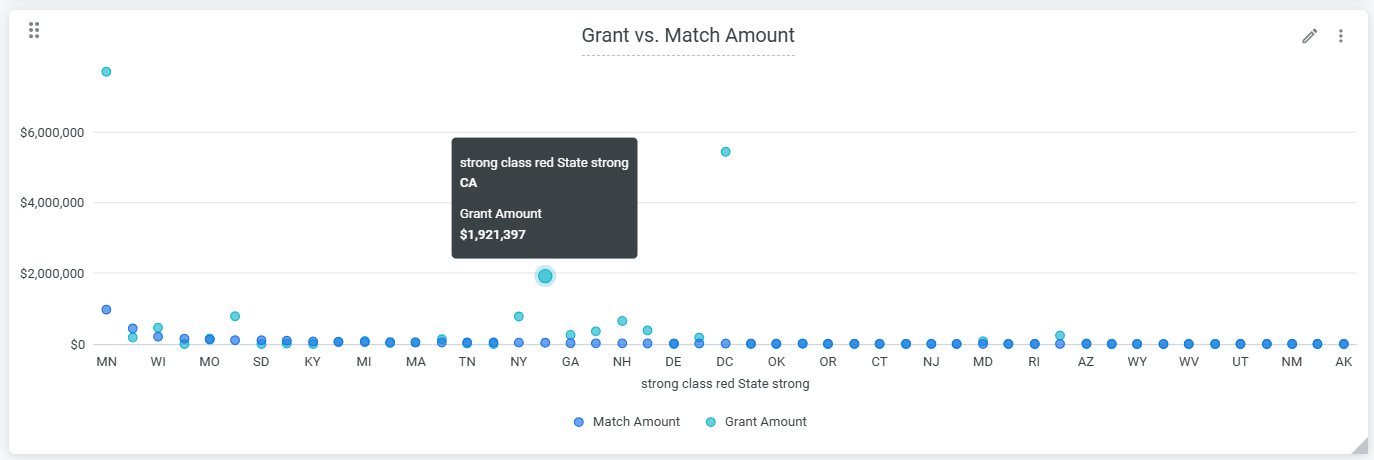
- Confirm that the tile’s filters align with your intended data view.
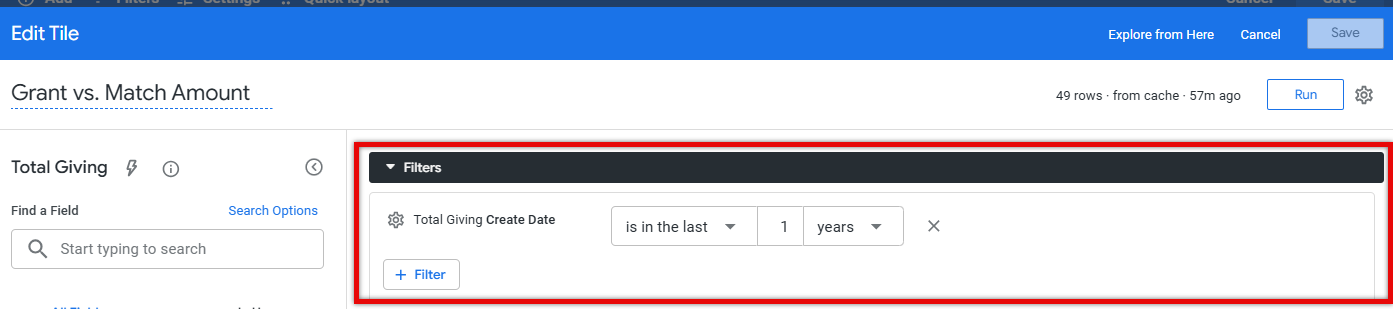
Keep in mind that dashboard filters work based on the Explore used - filters from the original dashboard won’t automatically apply to tiles from a different Explore.
Dashboard filters:

Tile filters:
Step 5: Update Dashboard Filters
If you want dashboard filters to impact your new tile, you’ll need to update the filter settings for each applicable filter on a dashboard.
- In edit mode, click the three dots to the right of a dashboard filter to enter edit mode for that filter
- Select the “Tiles to Update” tab where your new tile’s name is listed, and you will see “Do Not Filter”.
- You will want to click on that and select an option to make it match the other tiles listed in the same area.
Step 6: Save dashboard changes
After verifying that all tiles and filters are configured correctly, save your updates.
- Click Save in the dashboard editor to apply your changes.
- Once saved, your dashboard will include tiles from multiple Explores, with filters functioning as configured.
Additional notes
- If you are not in edit mode and drill into a tile using Explore from here, you’ll see both dashboard-level filters and any tile-specific filters.
- When you are in edit mode and click Edit on a tile, only that tile’s individual filters appear. These can be contrary to the Dashboard filters, but will be overridden by Dashboard-level filters if they are filtering on the same field type(s). The exception is if “Do Not Filter” is set, as detailed in Step 5.
- Until you align filters for tiles from different Explores, each tile will only display results based on its own Explore filters.
What else do you need help with?


