The Employee Giving tab in CyberGrants is your central hub for reviewing, managing, and taking action on employee-submitted gifts and matching requests. By configuring your view to match your workflow, you can streamline program operations, reduce errors, and focus more of your time on driving impact.
The following steps will guide you through the implementation process, from initial planning through ongoing management.
Step 1: Access the Employee Giving tab
After logging in to CyberGrants, navigate to the Employee Giving tab.
Click the gear icon labeled Settings to begin customizing your view.
Step 2: Set your search filters
Click Edit/Add Search Filters to choose which fields appear when you run a search.
- Check the boxes for the fields you want to use as your default search criteria.
- Uncheck any fields you don’t need to remove them from view.
- When finished, click Save Settings.
This helps ensure your searches return the most relevant results without unnecessary clutter.
Step 3: Customize your result columns
Click Edit Result Columns to configure the columns displayed in your search results.
- Move fields from the Available section to the In Use section using the right arrow.
- To remove a column, click it and use the left arrow to move it back to Available.
- Adjust the order by highlighting a field and using either the up or down arrows.
- Sort the search results by a specific column in ascending or descending order.
This customization enables you to see the data that matters most to you at a glance.
Step 4: Enable automatic search execution (optional)
If you want your default search to run immediately when you open the tab, check the box labeled Execute Search Automatically. Otherwise, you'll need to click Search each time.
Click Save Settings to apply this preference.
Step 5: Search for and filter gifts
Use your configured filters to find specific gifts that need attention. For example:
- Set Proposal Type to Matching Gifts.
- Set Disposition to Pending.
- Optionally filter by Gift Fiscal Year, Match Amount, or Organization Status to investigate discrepancies or $0 matches.
Click Search to view your results.
Step 6: Review and take action on individual gifts
Click into a gift record to view all available details. Then scroll to the bottom of the page.
Depending on your permissions and site configuration, you may be able to:
- Submit gifts for approval
- Recommend or not recommend the gift
- Approve or reject the match
- Override the match amount when appropriate
Always review all available information before taking action.
Step 7: Take bulk actions
To process multiple gifts at once:
- Select all gifts from your search results—or select specific ones manually.
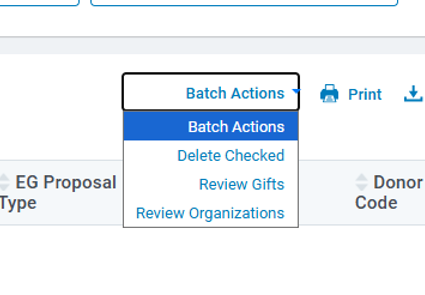
- Use the Batch Actions dropdown to approve, reject, or otherwise submit your decisions.
Bulk actions help you manage large volumes of gifts efficiently.
Step 8: Save your settings for future use
To make your current filters and columns your default configuration:
To save a custom search you can use again later:
- Run your desired search.
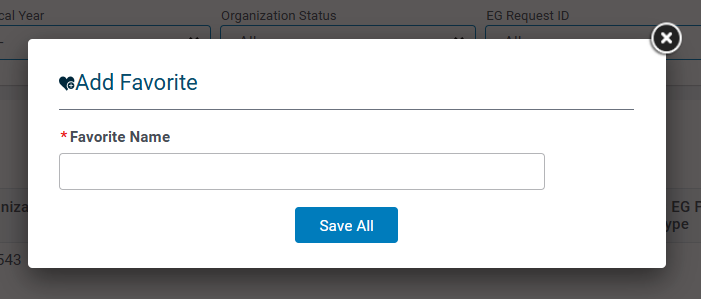
- Click the Add link to save it as a Saved Search.
- Give it a descriptive name.
To access a saved search:
- Refresh your browser.
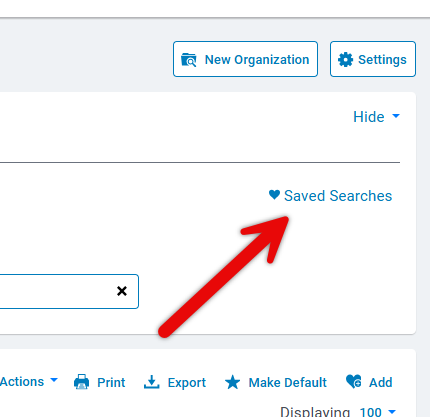
- Click Saved Searches.
- Select your saved configuration.
Step 9: Adjust configuration as your program evolves
Be sure to periodically review your Employee Giving tab configuration to ensure it still aligns with your team’s workflow and reporting needs. Adjust filters, columns, or saved searches as your program evolves.
What else do you need help with?
Not what you're looking for? Navigate to Understanding Event Management
Looking for training?
Explore this feature at your own pace - access training video content or watch a recorded webinar by clicking the link below.


