In Insights reports, filters play a crucial role in adjusting the data representation to suit your specific needs. Proceed through the following steps to effectively leverage filters to customize your Insights reports and gain valuable program information tailored to your specific requirements.
Step 1: Access the Insights tab
Log in to the CyberGrants platform and navigate to the Insights tab.
Step 2: Open a Report
From the left-hand menu, choose a report from any of the main folders: Personal, Group, or Standard.
Step 3: Locate the Filters
At the top of any Insights report, you will find a set of one or more filters that can be expanded and utilized to modify the data displayed.
Step 4: Understand Filter Categories
Standard reports come with a predetermined set of filter categories that can be used, however new filter categories cannot be added. New filters can only be added to custom reports, created by any licensed “Analyst” user within your organization.
Step 5: Temporarily Change Filter Values
You can temporarily change report filter values to see how the data changes by clicking on the different options or selections shown in the filter. However, your filter selections are not being saved and will not affect another user’s filters when viewing the same report.
- For example, all standard reports should have a filter that specifies a timeframe to include a date. To change the timeframe, you can remove the current year value and begin typing the desired year, or click the dropdown to select additional date operators.
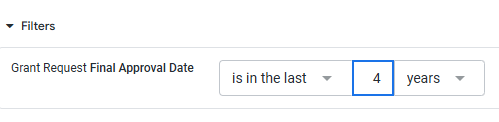
- To set a custom date range, select the "Is in range" date operator.
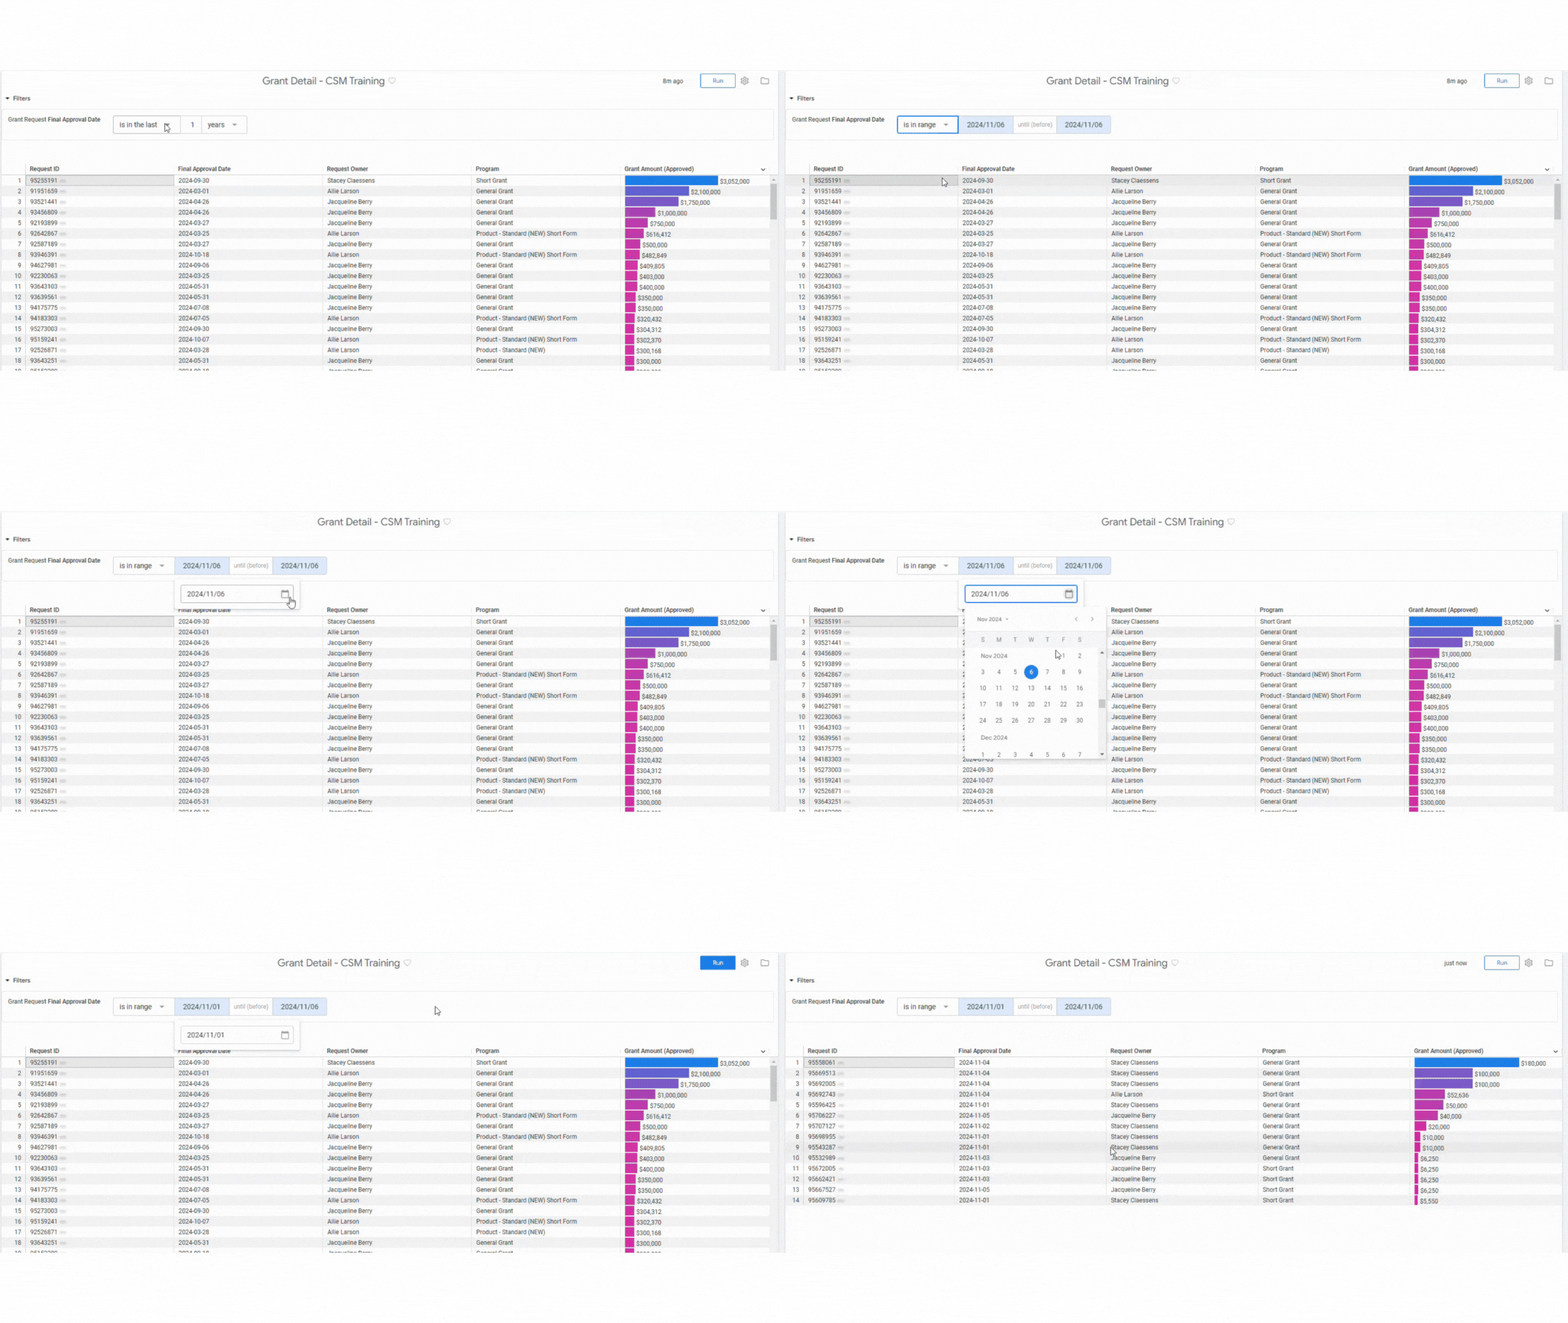
Step 6: Select Filter Values
To select one or more values from a filter, simply click the filter and either begin typing or select from the dropdown of available options.


