The data field types, such as Checkbox, Multi-Select, Single-Select, or Percentage List, require that list values be added to the field.
Proceed through the following steps to effectively manage your program's custom field list values.
Step 1: Select a Field Type
To edit a custom field, select the desired field type.
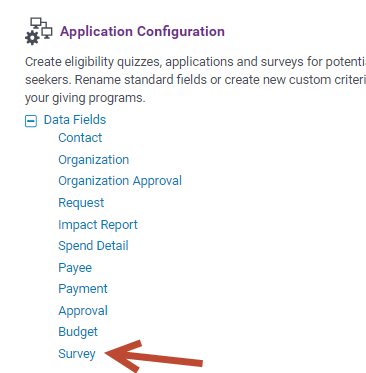
Then, search for the field by name to locate it and open the field configuration screen.
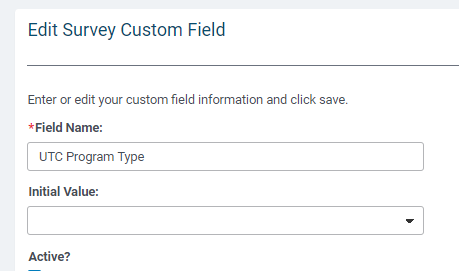
Step 2: Click on "Edit List Values"
Once you have found the desired field, click the "Edit List Values" link at the bottom of the configuration screen to access the list values management interface.

Step 3: Manage Existing List Values
The next screen displays all active and inactive list values.
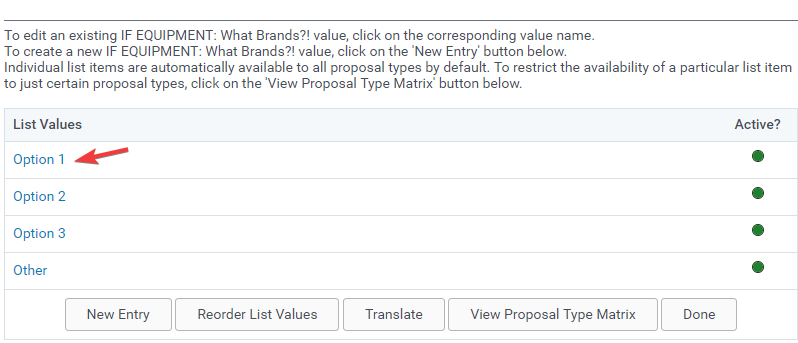
To deactivate a value, click on the name of the list value, uncheck the "Active" checkbox, and then save the changes.
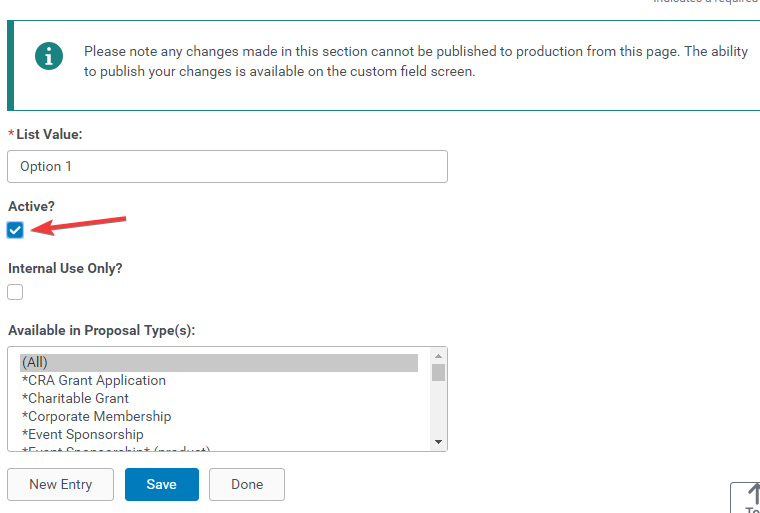
Step 4: Add New List Values
To create a new list value, click the "New Entry" button and fill in the necessary information for the new value.

Step 5: Publish the Updates
After making all the desired changes to the list values, click the "Publish" button on the field configuration screen to ensure the updates are reflected in the production environment.
What else do you need help with?
Not what you're looking for? Navigate to Understanding Field Configuration.


