Creating a custom dimension using an expression within an Insights Explore allows Analysts to combine one or more existing dimensions to generate a new, personalized field. This feature enables you to enhance your data analysis and gain a deeper understanding of your program's information.
- NOTE: To access this feature, your Insights Access Level permission must be set to the Analyst role. Program administrators can manage Insights permissions for internal users through the Users section in the Insights platform. Click Here to learn more about the Insights Self-Service User Management Portal.
Proceed through the following steps to create a custom dimension using an expression.
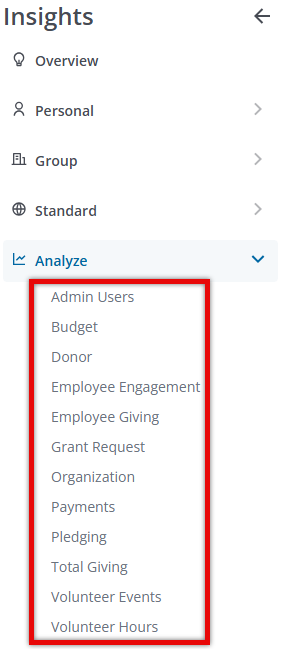
Step 1: Access Insights and Choose an Explore
Log into CyberGrants and navigate to the Insights platform.

Then, select the desired Explore to begin your analysis.
Step 2: Access the Custom Fields Section
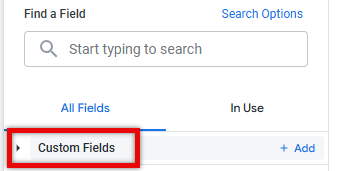
View the "Custom Fields" section in the left field picker.
Step 3: Add a Custom Dimension
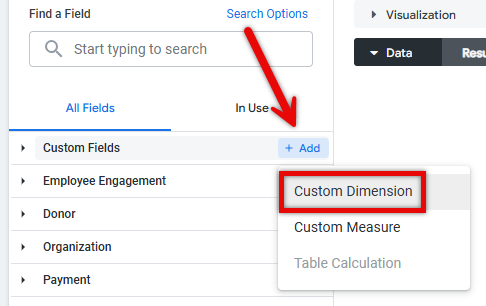
Click the "Add" button and select "Custom Dimension" from the dropdown menu.
Step 4: Enter an Expression
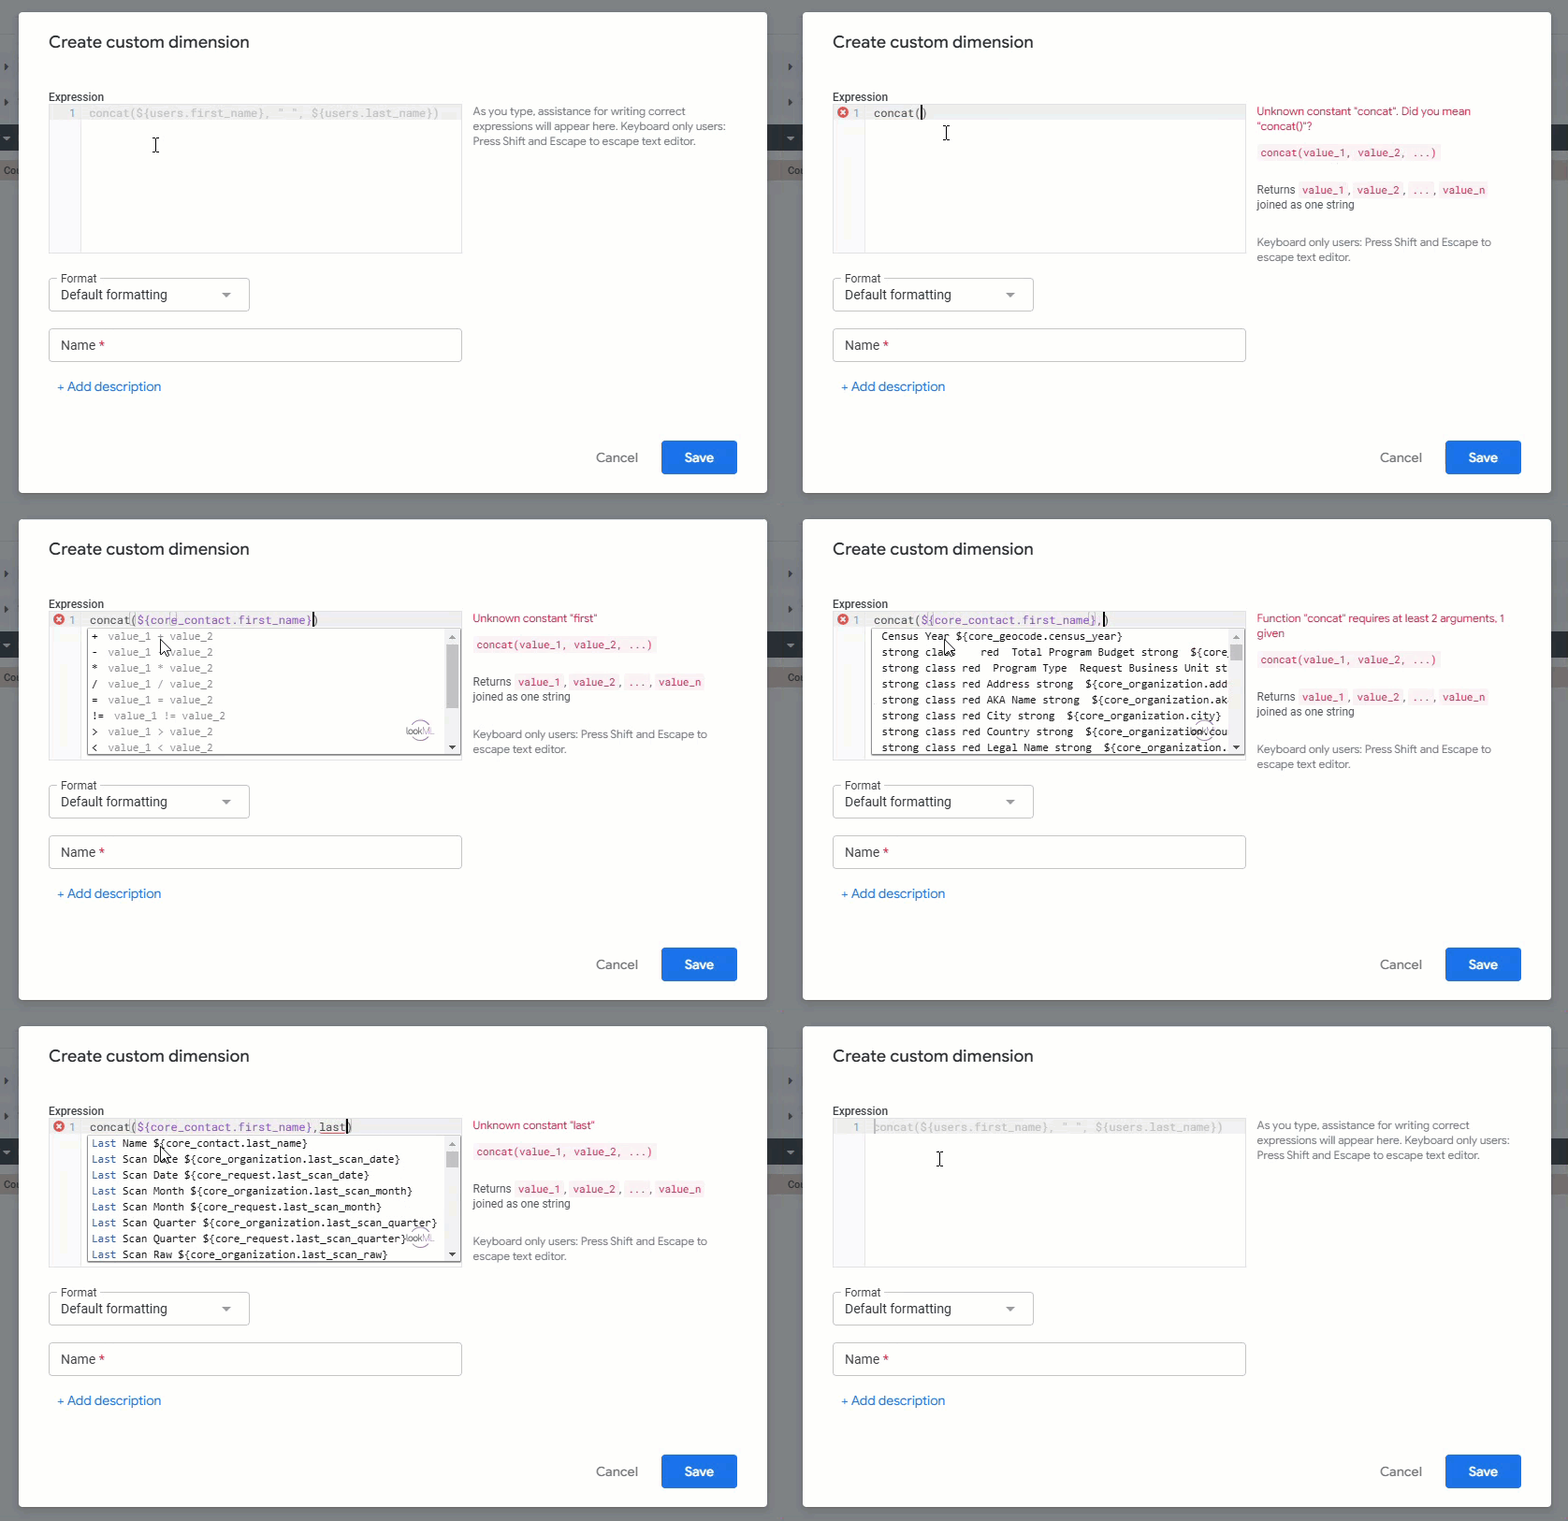
In the Expression box, type an expression that calculates the desired value for your custom dimension. The Insights expression editor will provide suggestions for field names and display syntax help for any functions you use.
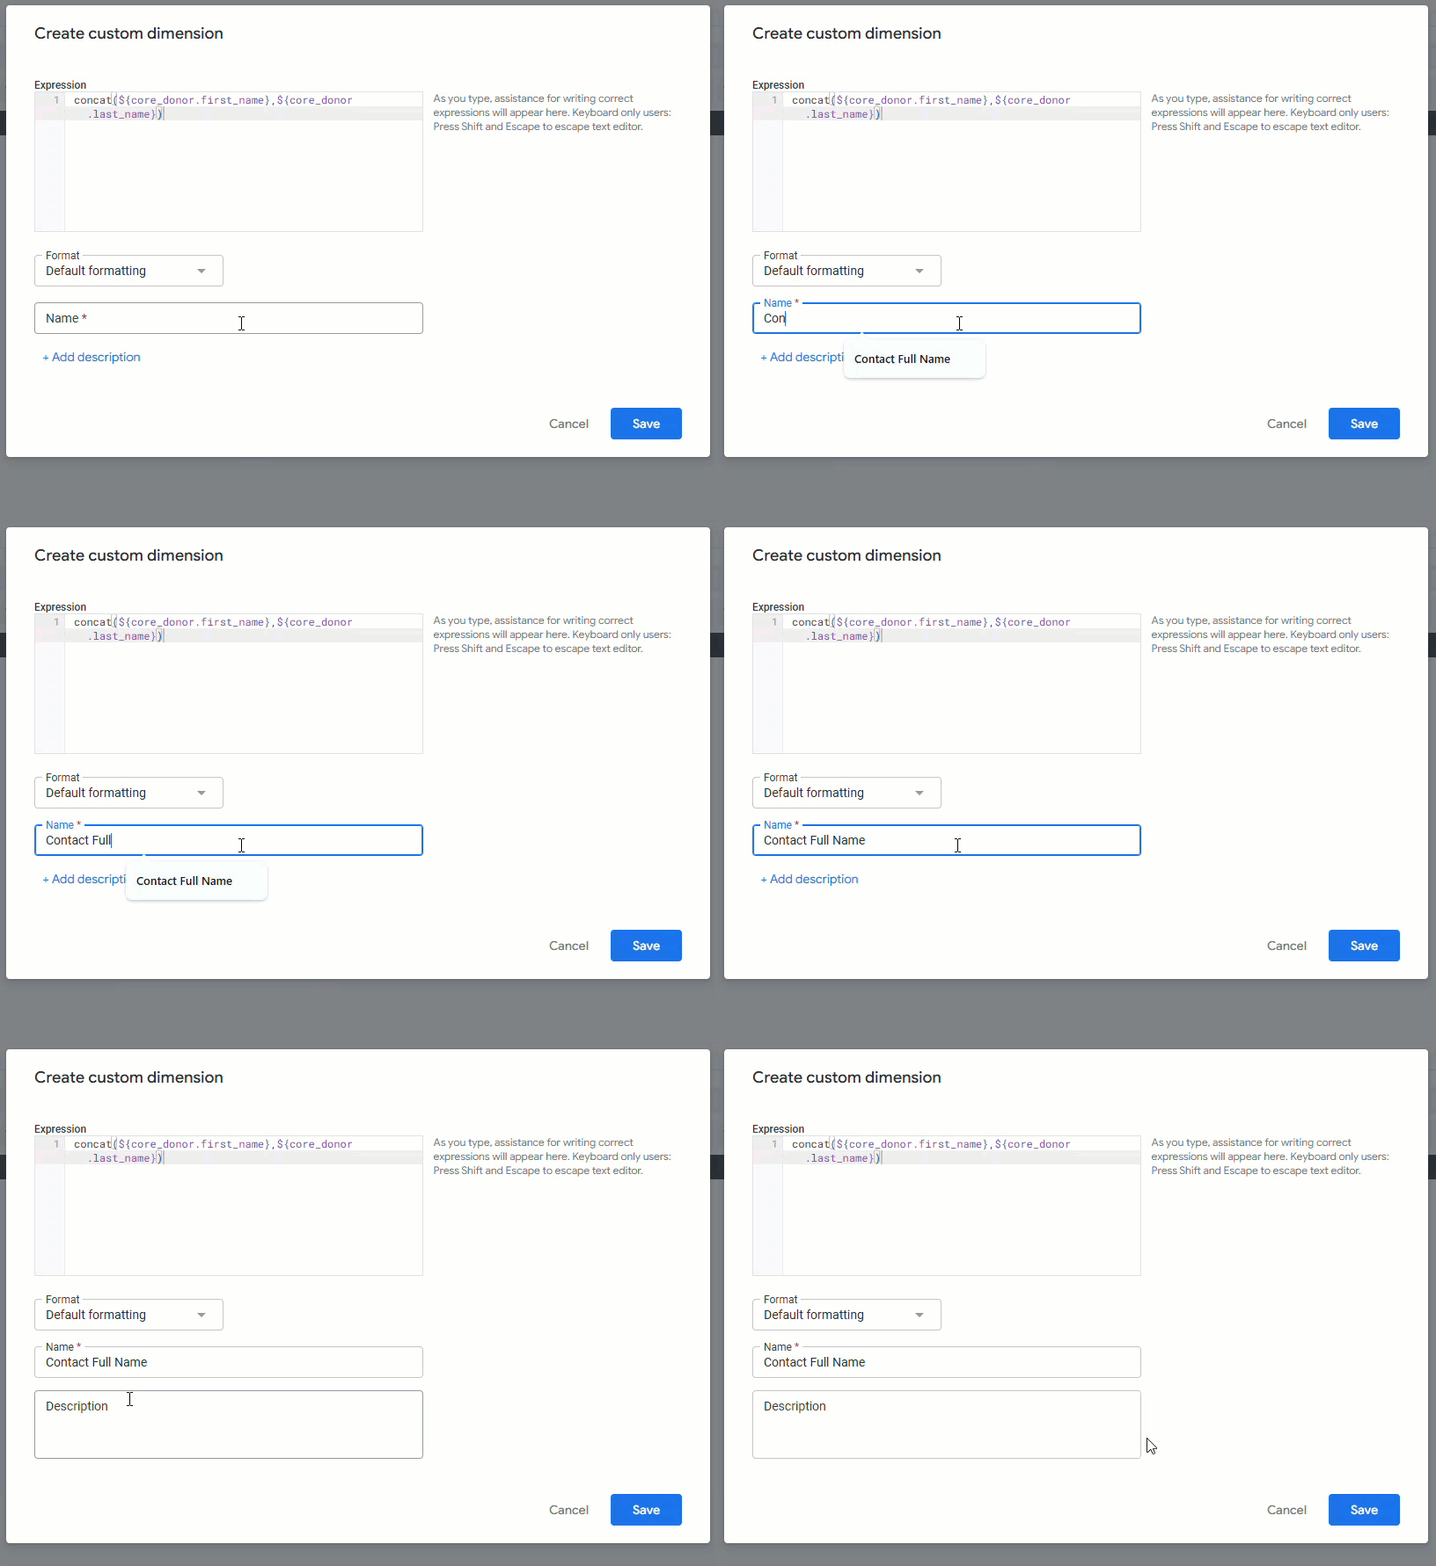
In this example, we will be concatenating the First Name and Last Name fields into a single Full Name field.
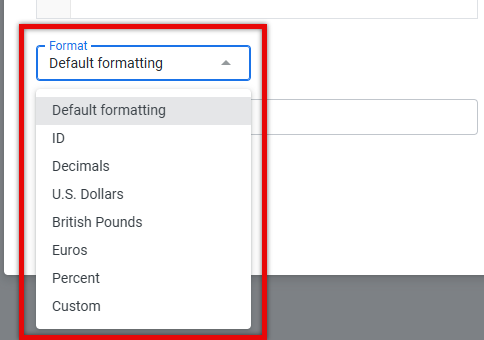
Step 5: Update the Dimension's Format
If desired, select an option from the dropdown to change the format of your new dimension to a preferred setting.
Step 6: Provide a Field Name and Description
The option to specify a Field Name to use for your custom dimension is, also, available. This name will appear in both the field picker and the data table.
- Additionally, you can click the "+Add Description" button to provide an optional description of up to 255 characters, which can give other users more context or information about the custom dimension.
Step 7: Save and View the Custom Dimension
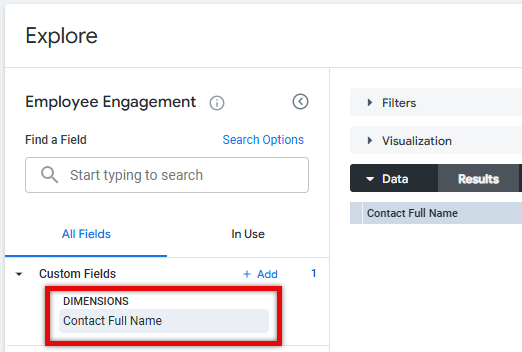
Once you have completed the previous steps, click the "Save" button to finalize the creation of your custom dimension. The new custom dimension should now be displayed in the Custom Fields section of the field picker.
What else do you need help with?
Not what you're looking for? Navigate to Understanding Insights Custom Fields


